Probe Sensors

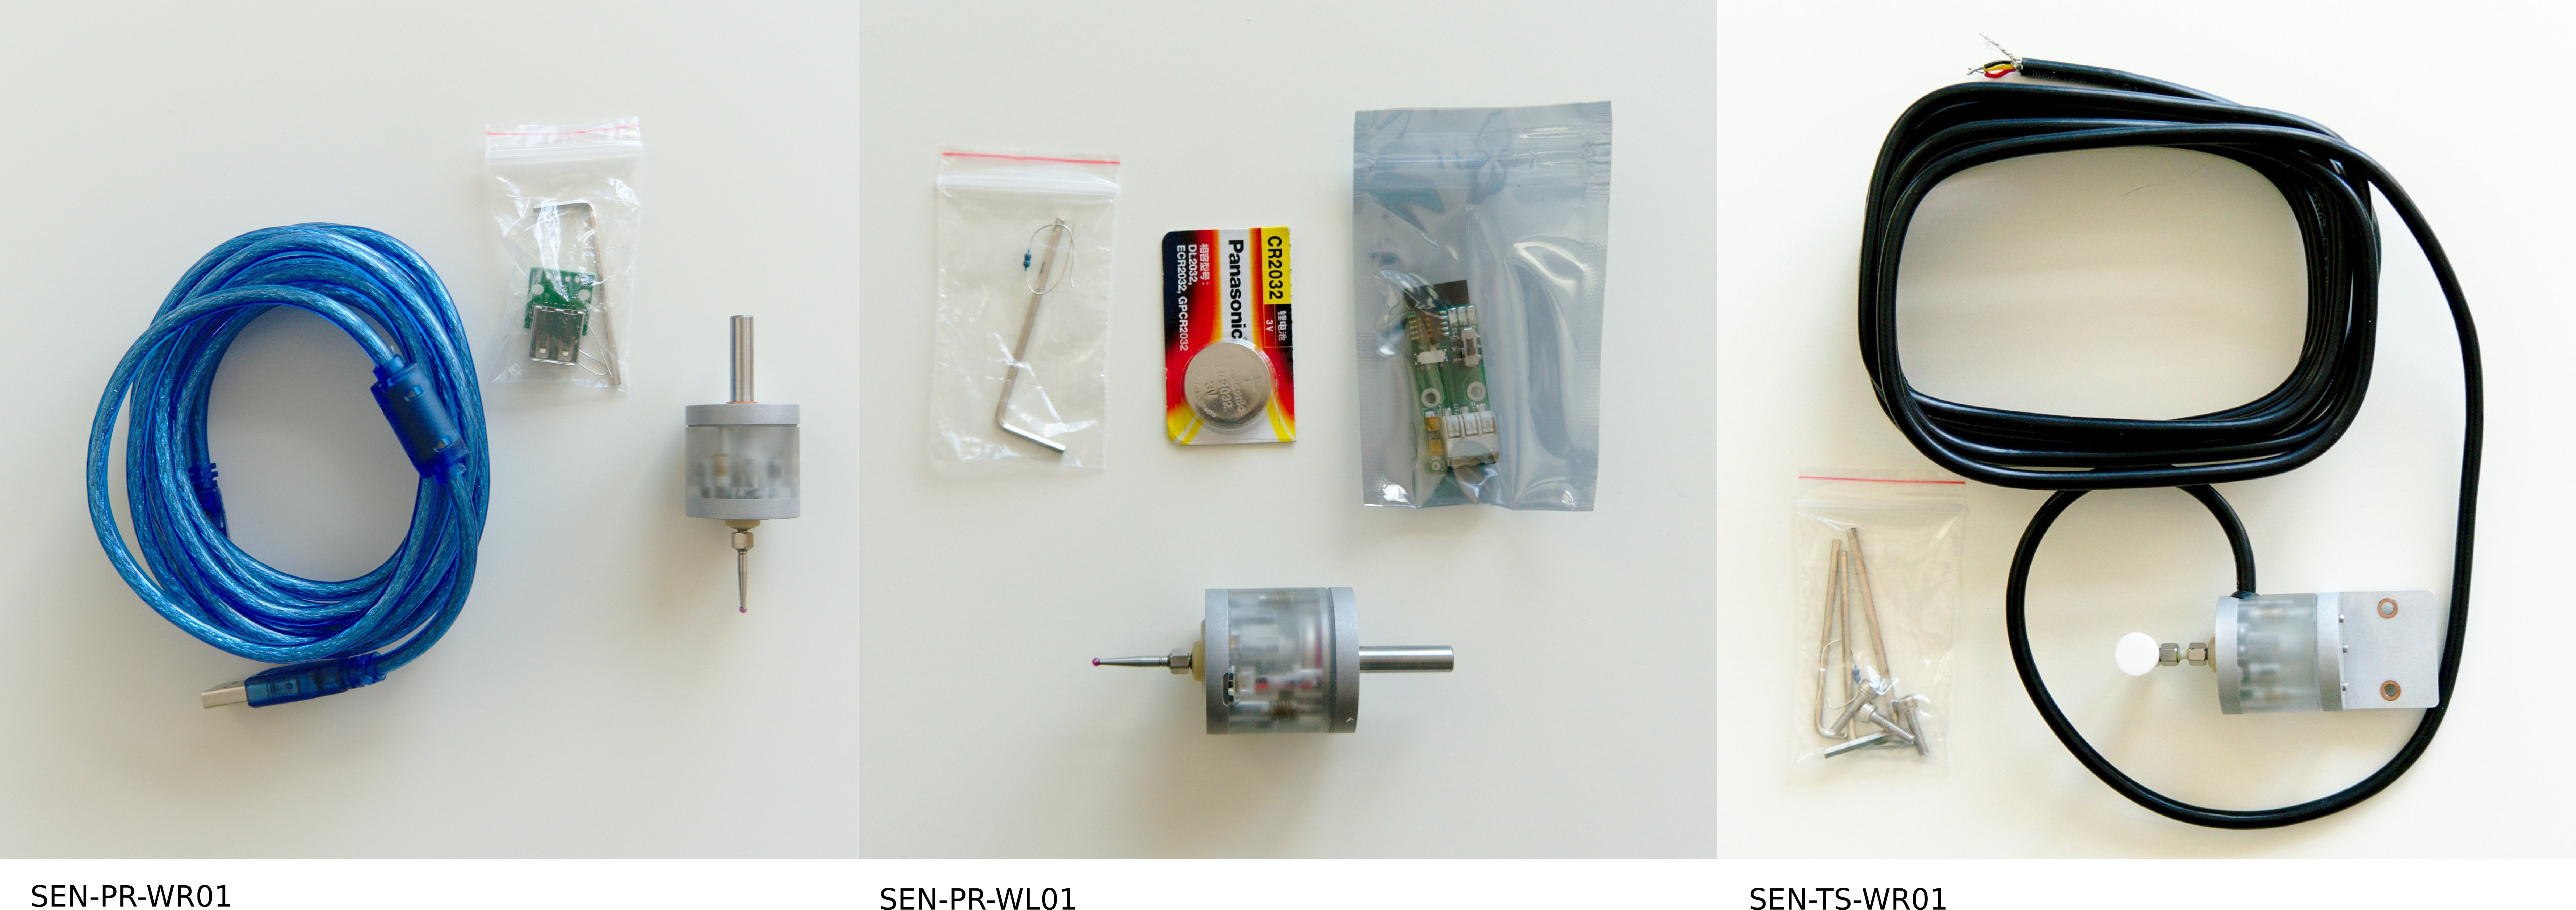
Probe sensor tools are currently being sold as part of some myCNC kits. These probe tools can be used in a number of myCNC profiles and applications in order to determine an exact position of the part on a milling machine. The probe can find edges, corners, hole centers, and more.
Available probe tools
The currently available CNC touch probe tools are the Wired Probe Sensor (SEN-PR-WR01), the Wireless Probe Sensor (SEN-PR-WL01), and the Wired Tool Setter (SEN-TS-WR01). The specifications and technical characteristics for each of these tools can be found below.
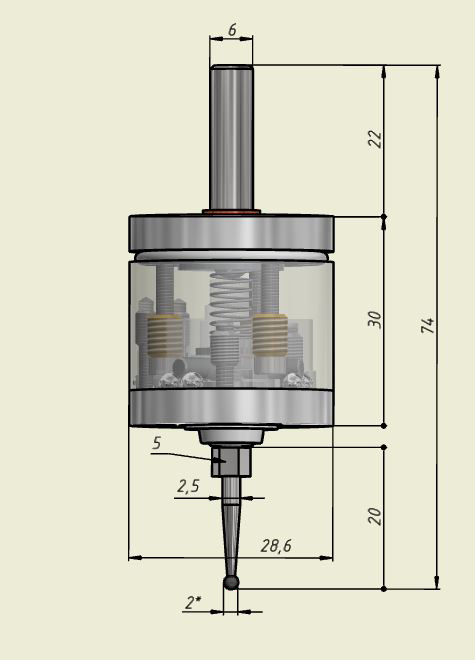
Wired Probe Sensor (SEN-PR-WR01)
|
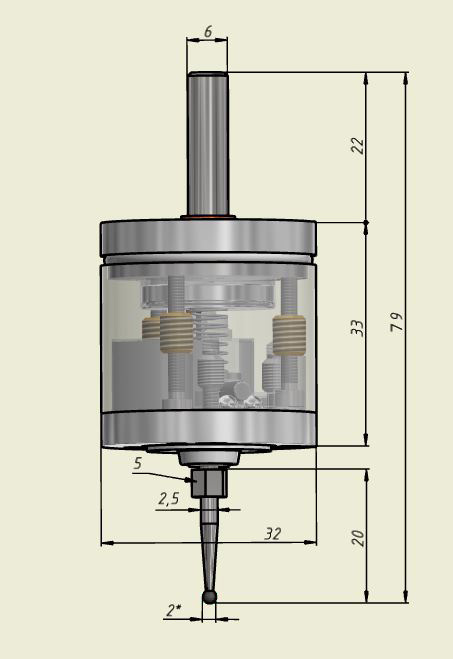
|
Wireless Probe Sensor (SEN-PR-WL01)
Wired Tool Setter (SEN-TS-WR01)
The tool setter is designed to determine the exact coordinates of the tool mounted on a CNC milling machine using the contact method. The CNC system generates these coordinates as the tool comes into contact with the tool setter measurement platform, and uses them to calculate the height and diameter of the tool, to link the machining program to the work tool location.
-
Unilateral repeatability: <0.003 mm
-
Search directions: ±X, ±Y, -Z
-
Deflection in XYZ directions: ±2mm
-
Force to decouple in XY direction: from 0.5 to 2H
-
Body diameter and length: D=28mm, L=60mm
-
Base size: 28x28mm
-
Diameter and height of the ceramic pad: D=10mm, h=2.5mm
-
Power supply: +5V
-
Current consumption: >4mA
-
Features dust and splash protection
-
Features a brittle safeguard fuse
Coming soon - Probe Arm
The sensors listed in this article pose a problem when clamped into a collet, owing to the fact that the sensor cannot be inserted perfectly centered. To mitigate this, there are adjusting screws with which one can adjust the centering of the probe when turning the spindle shaft. However this calibration/adjustment process is highly time-consuming when it has to be performed every time the probe is inserted and subsuquently taken out of the collet.
The probe arm, on the other hand, is fixed rigidly, and, once its position is measured and its tool number is assigned, the user has to only enter the probe offsets once. This leads to a useful QoL improvement on on a simple machine owing to time saved on calibration.
The myCNC team intends to begin carrying the probe arms soon as part of some of the myCNC kits. Please contact our Support Team for further information.
Calibration/Adjustment of the probe sensor and Connection to a myCNC control board
In order to properly calibrate and then set up the probe sensor/tool setter with a myCNC controller, please consult the full Probe Sensor Documentation page for instructions.

