CNC Vision Setup
NOTE: The CNC Vision functionality is currently supported on Linux systems ONLY.
This article is designed to introduce the reader to the setup process of a CNC vision system using myCNC software. Note that it is necessary to obtain a valid Vision System License in order to utilize the distortion correction features of myCNC software.
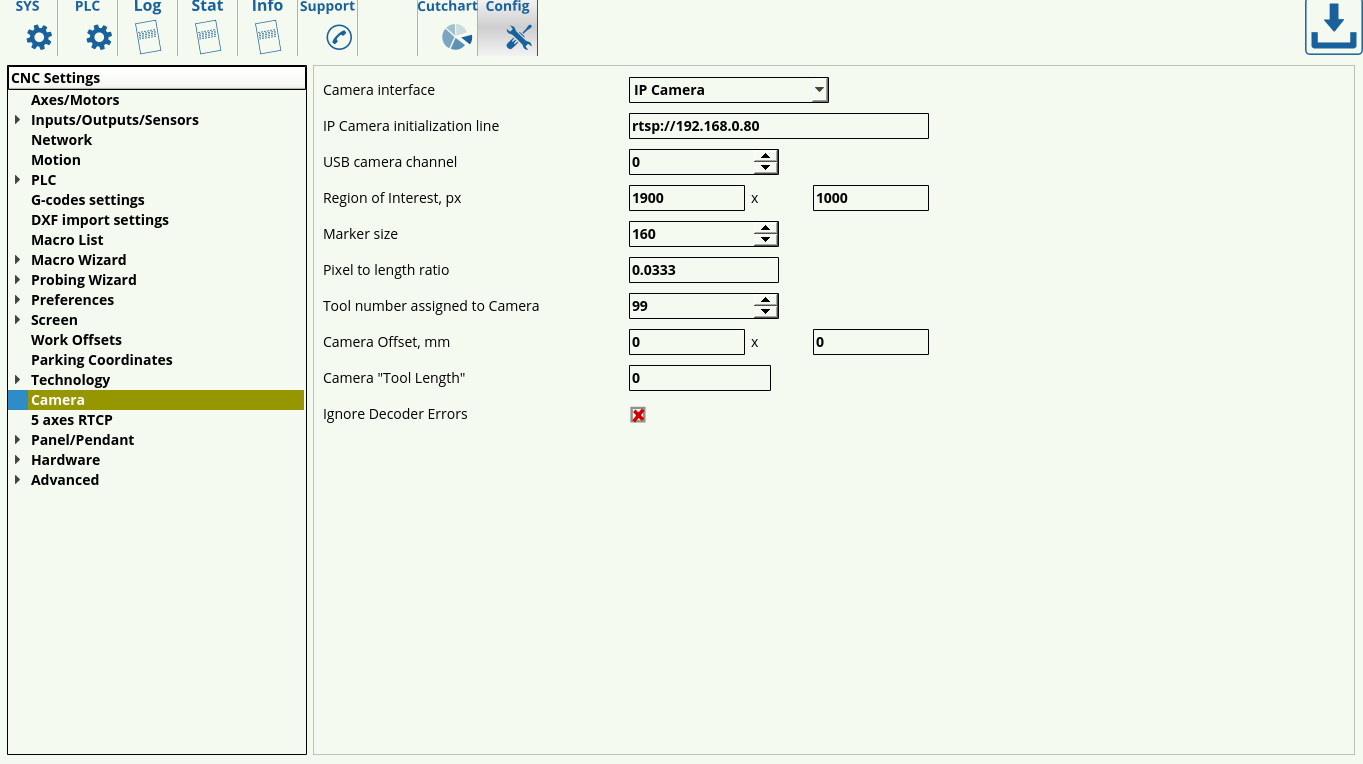
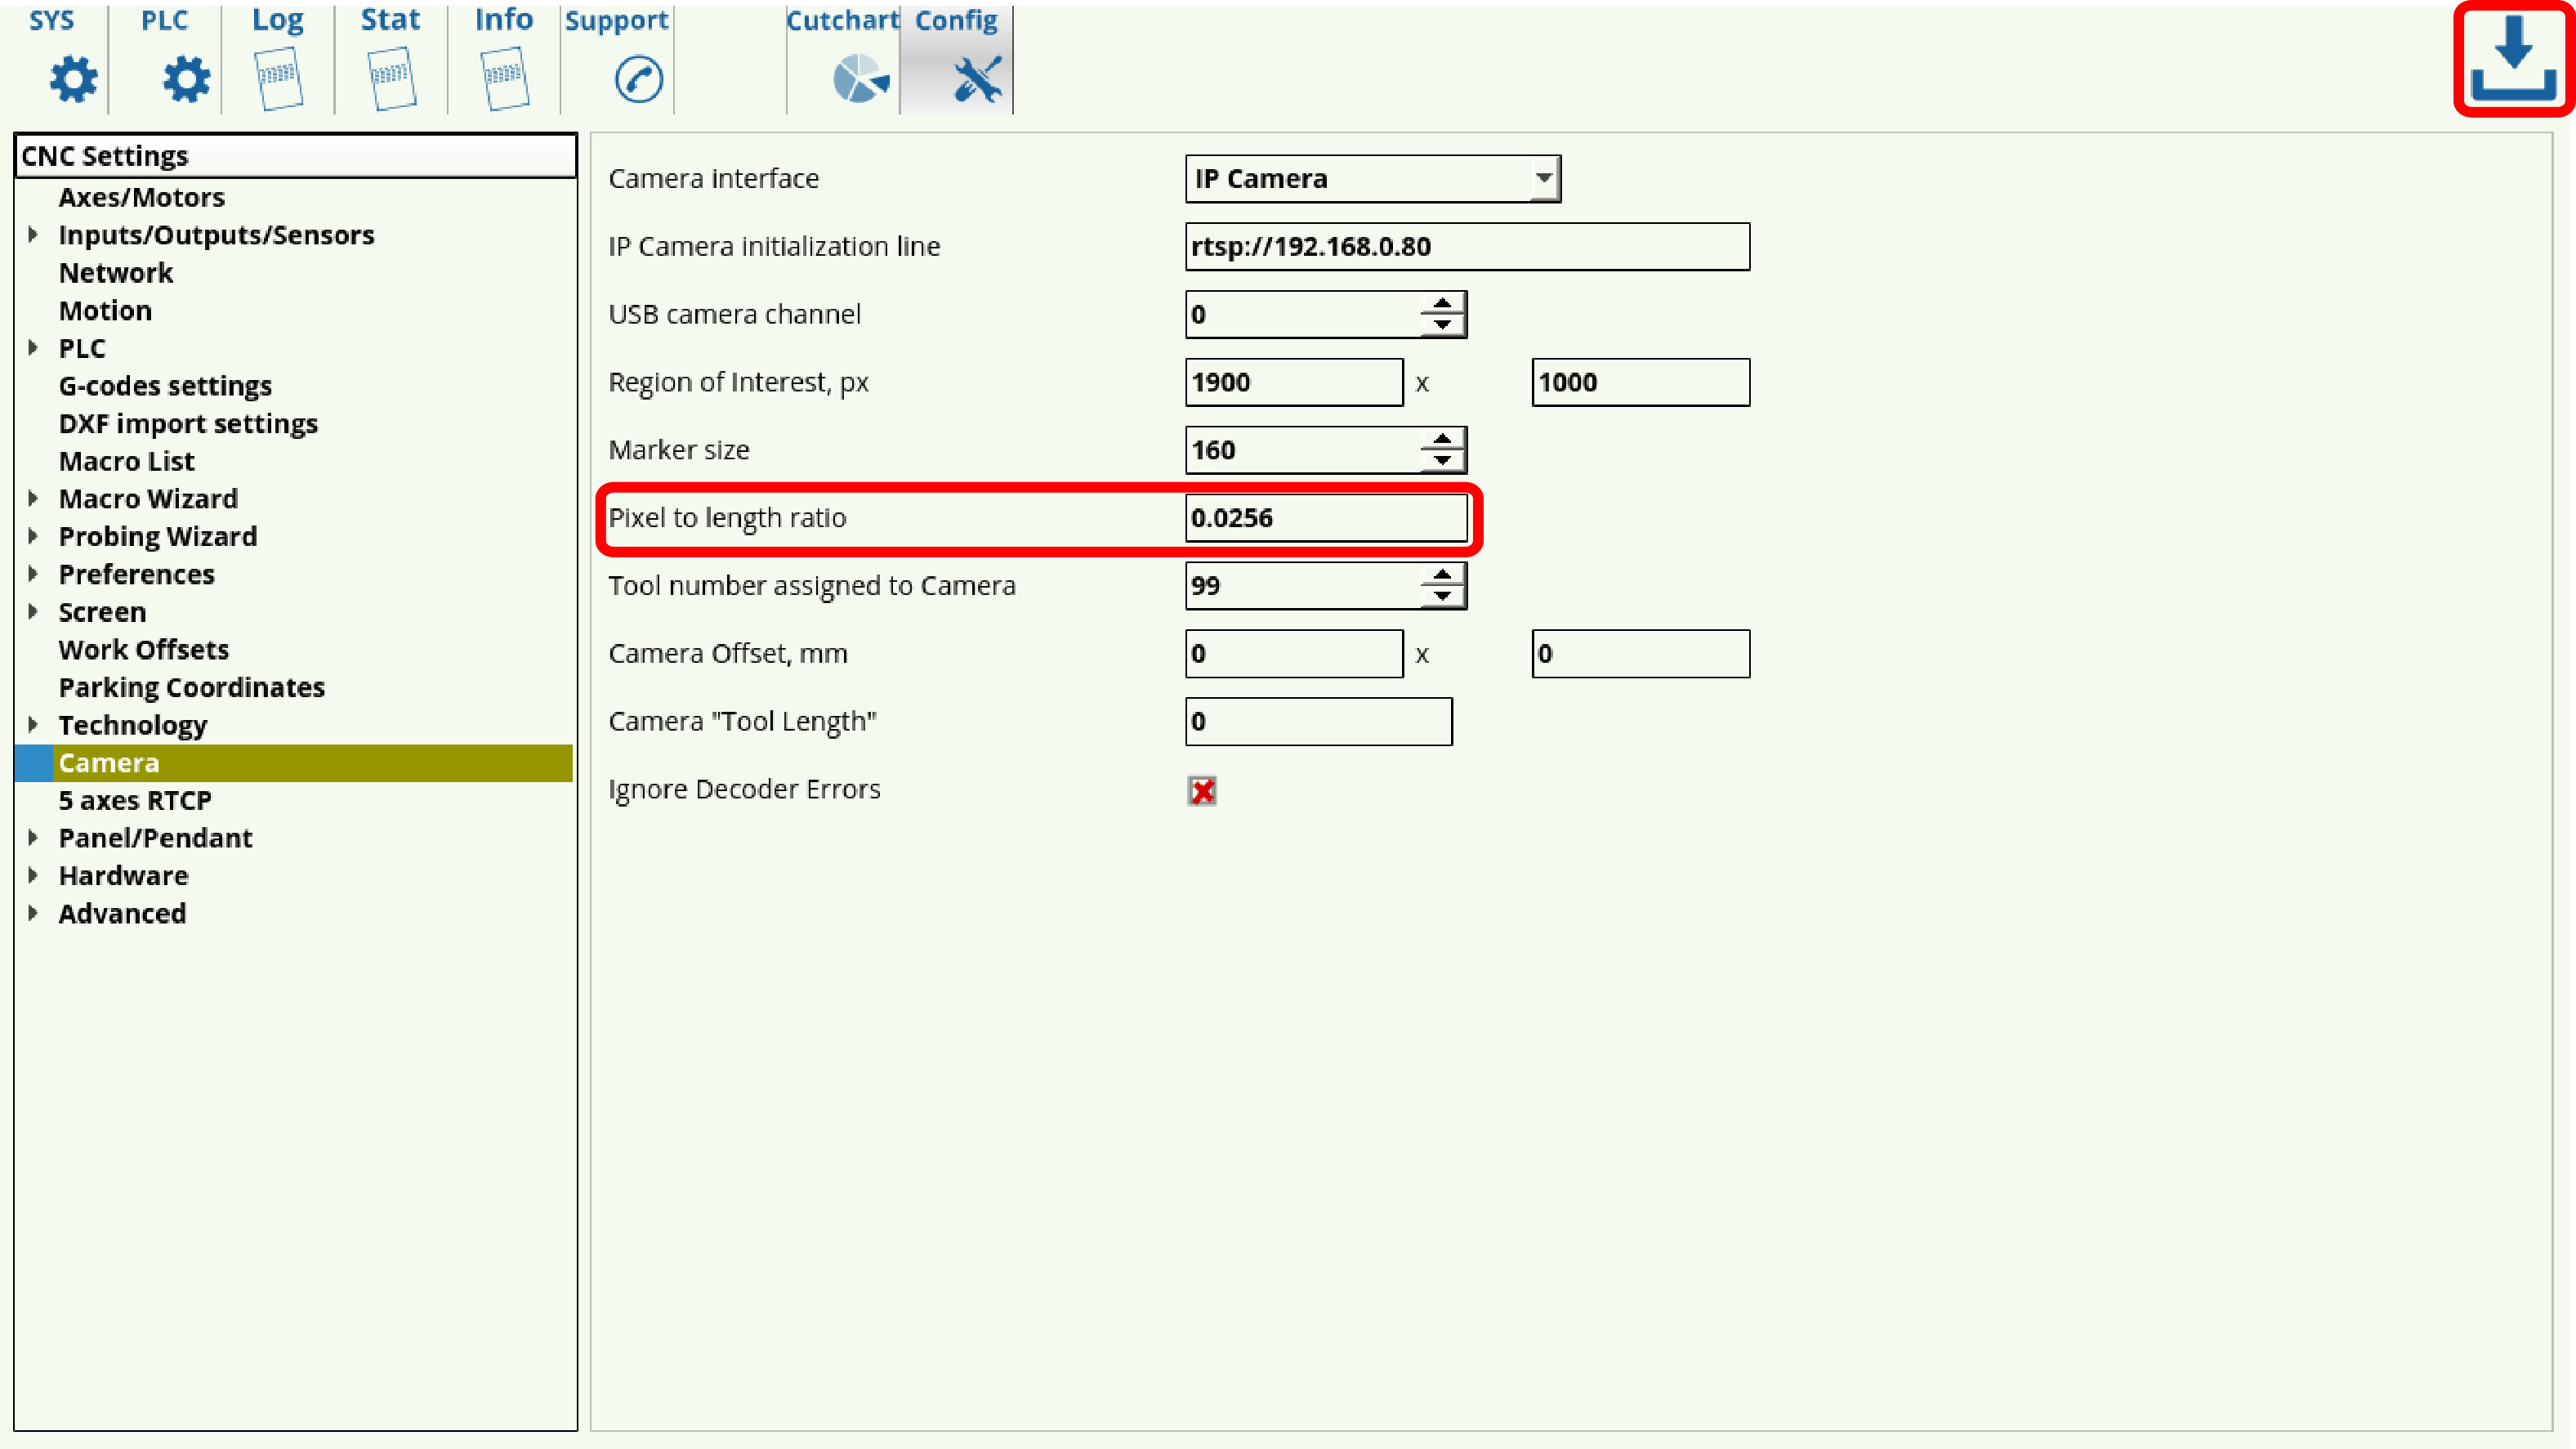
In order to set up the camera, you must go into the CNC Settings > Camera. The screen presented to you will be the one shown below:
Camera Interface allows to choose between a camera connected through a USB cord or through LAN. If the camera is connected through LAN, the Initialization line must list the correct IP address of the camera, while the USB channel is used if the camera is connected through a USB cord.
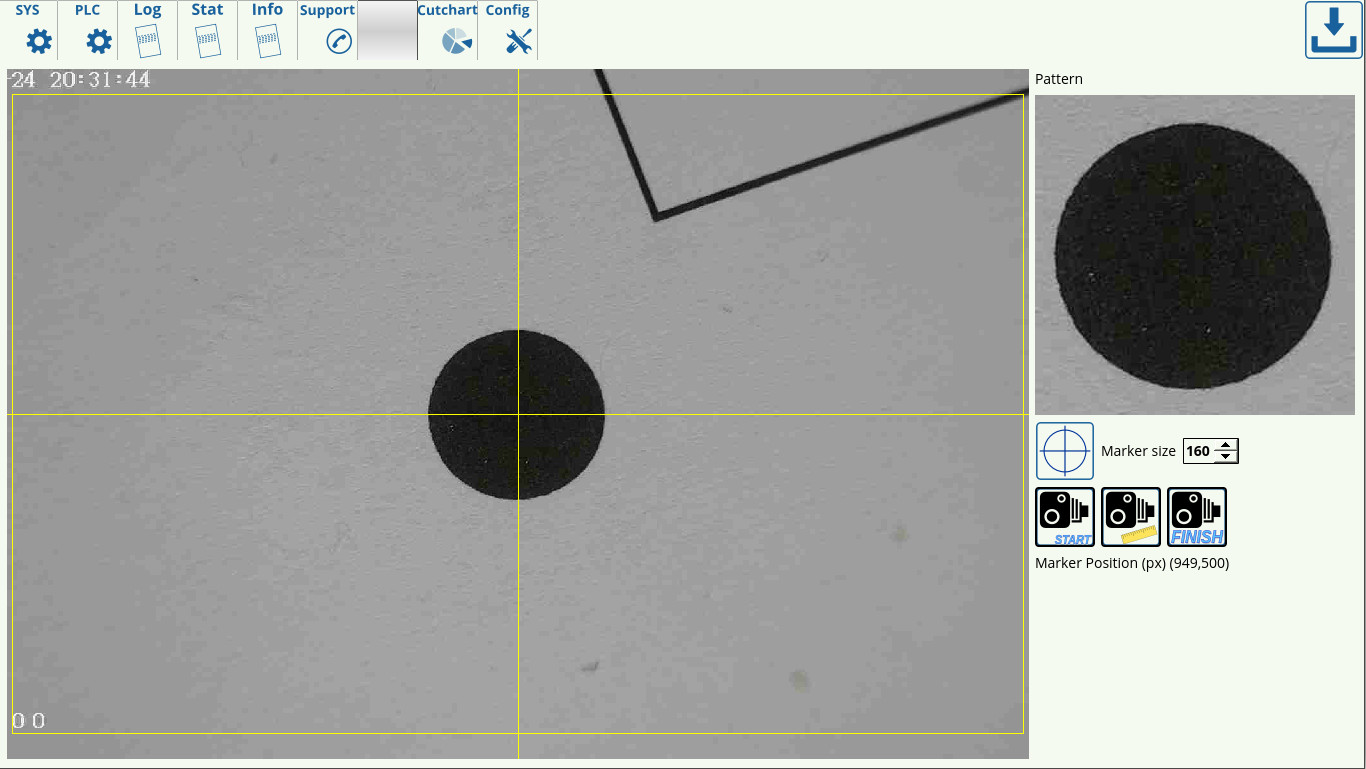
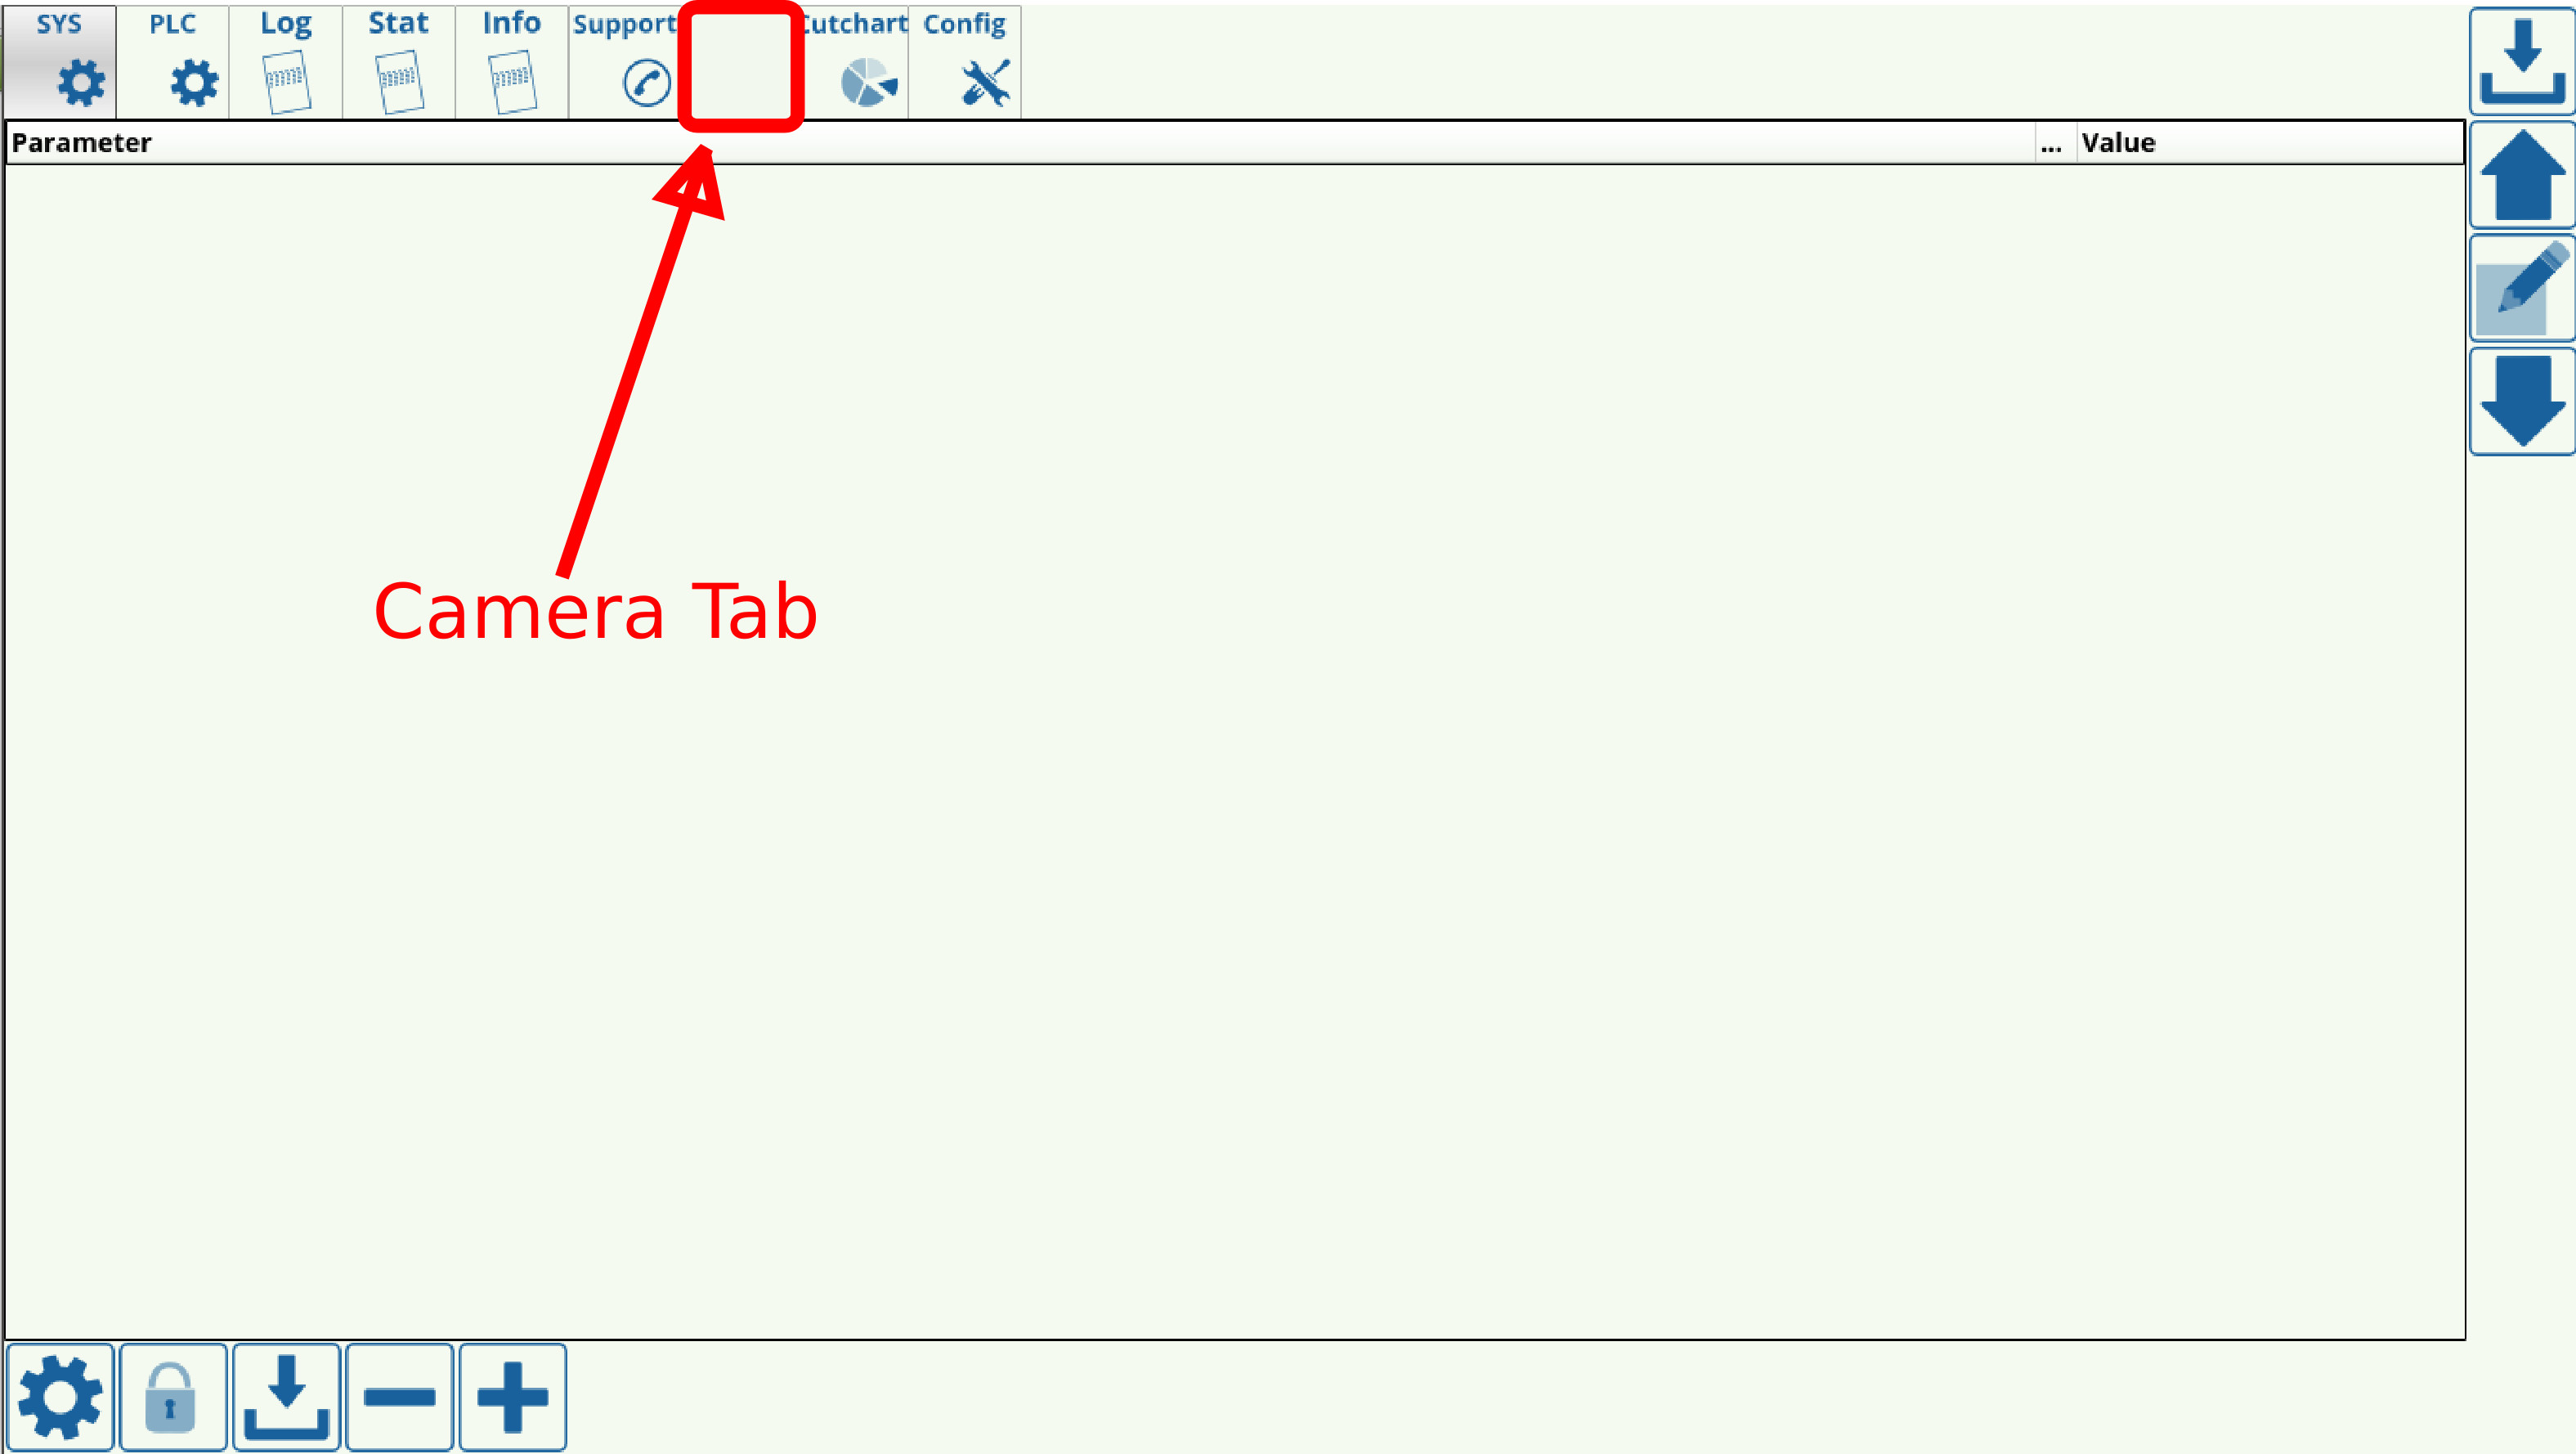
Region of interest (in pixels) signifies the area in which the camera is actively looking for markers, and should usually be set up to be equal or slightly smaller than the actual resolution of the camera. As the camera used in this example has a resolution of 1920 x 1080, the region of interest has been selected to be 1900 x 1000 to fit within the camera limitations. When switching to the Camera tab, it can be seen that the region of interest is visually highlighted in yellow, as shown in the image below:
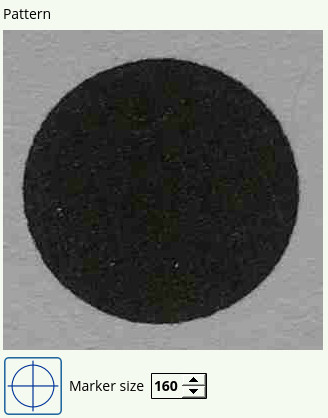
Marker size is usually set to be slightly larger than the marker itself, in order to account for the visual transition between the marker and its surroundings. In the case of the particular marker used in this scenario, the marker size has been set to 160 pixels:
Pixel to length coefficient is used to convert the pixels travelled into the actual physical distance moved, in mm. In order to set up the correct coefficient for your camera, please consult the full set of instructions below.
Tool number is usually assigned to be 99, however other numbers can be used if necessary.
Camera offset values are used to specify the distance from the camera to the working tool in the xy-plane.
Camera length value is used to specify the distance from the camera to the working tool tip in the z-axis.
Ignore decoder errors flag is set to OFF by default.
Camera Shift describes the distance the machine will move by if it does not locate a marker after it has been instructed to look for one. This can happen when the marker is not fully within the region of interest, and then the camera will keep on moving around until it either finds the marker or reaches the end of this specified Camera Shift.
Shift Speed describes the speed with which the machine is moving during its camera shift phase while trying to find the marker.
Pattern Match Level describes the level of parity with the original reference marker that each new marker must have for the system to recognize it. Higher numbers mean less parity (more differences between the markers), so as to avoid false positives it is advised to keep the numbers on the lower end of the scale. The graph below the Pattern Match Level indicates the parity levels during the machine search for markers, with the low points being indicative of the places where marker parity is highest.
Image sensor correction corrects for sensors with different aspect ratios. Use this if the marker image appears distorted or stretched.
Setting up the pixel to length coefficient
The pixel to length coefficient is necessary for the camera to know how many millimeters it had moved after having traversed a certain number of pixels to the left/right/top/bottom of its original position. This procedure is done by finding the ratio of millimeters moved to pixels travelled.
In order to do so:
1. Go to the Camera tab of the myCNC software 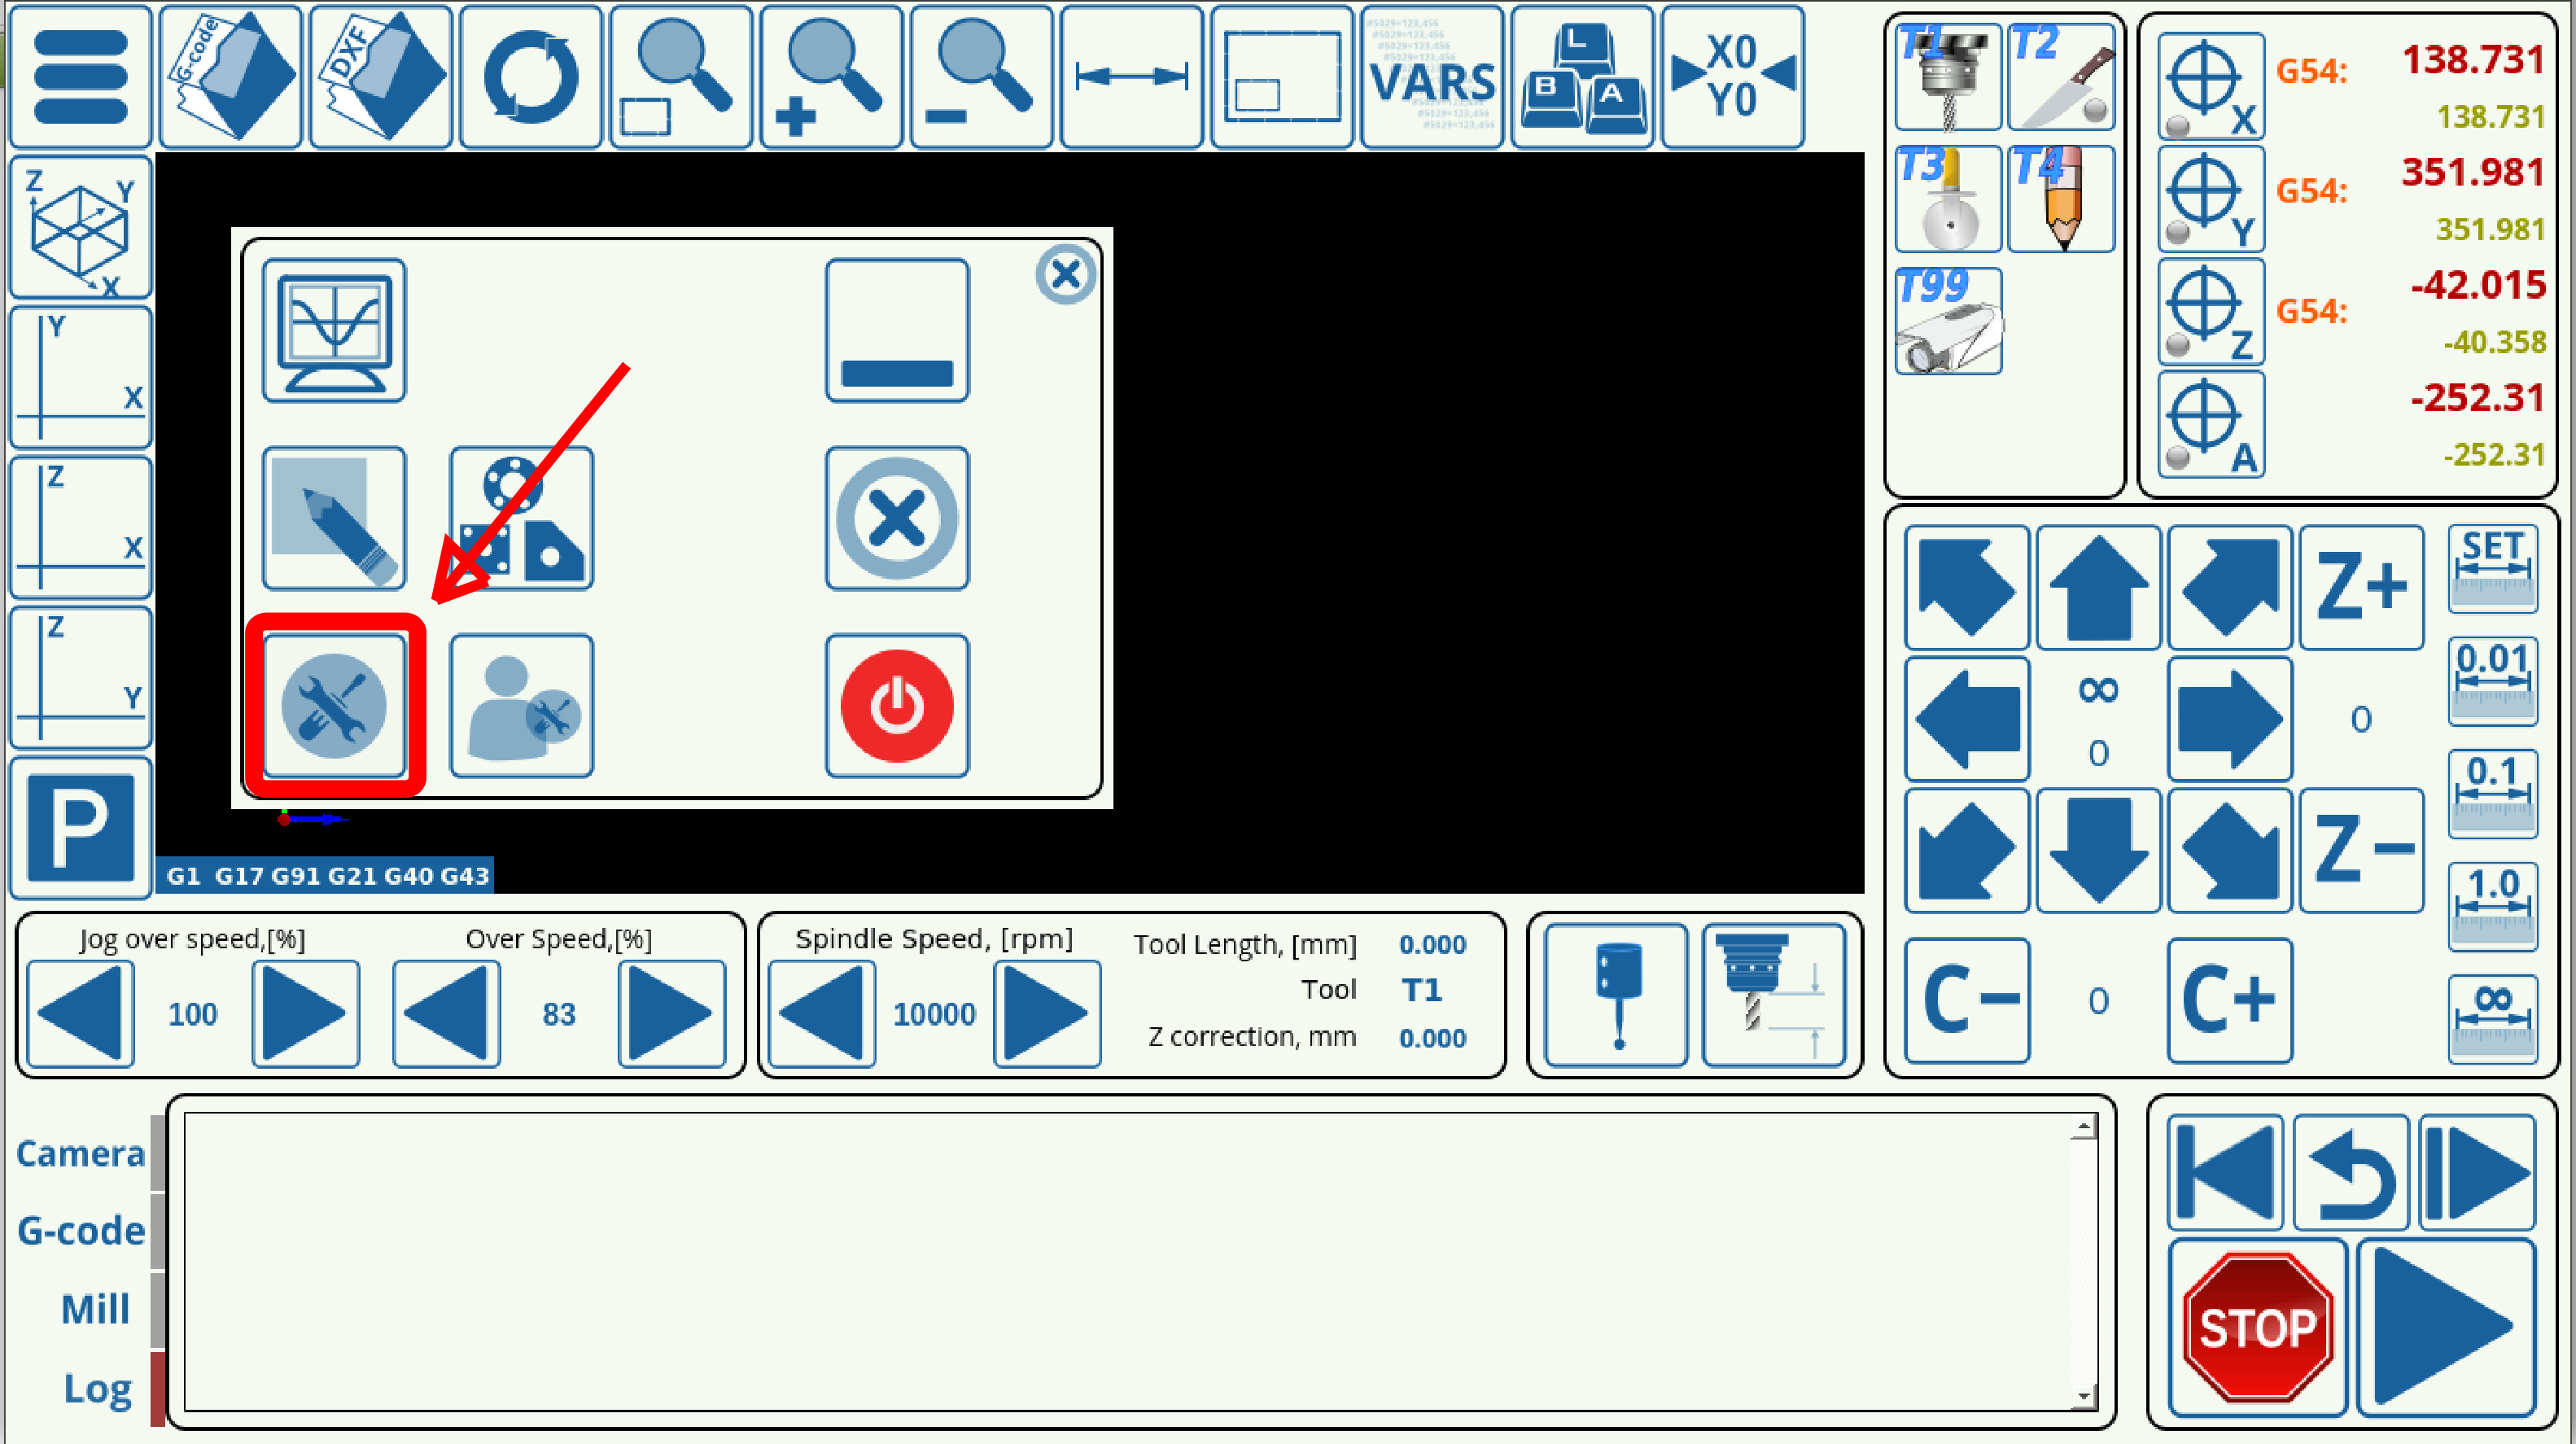
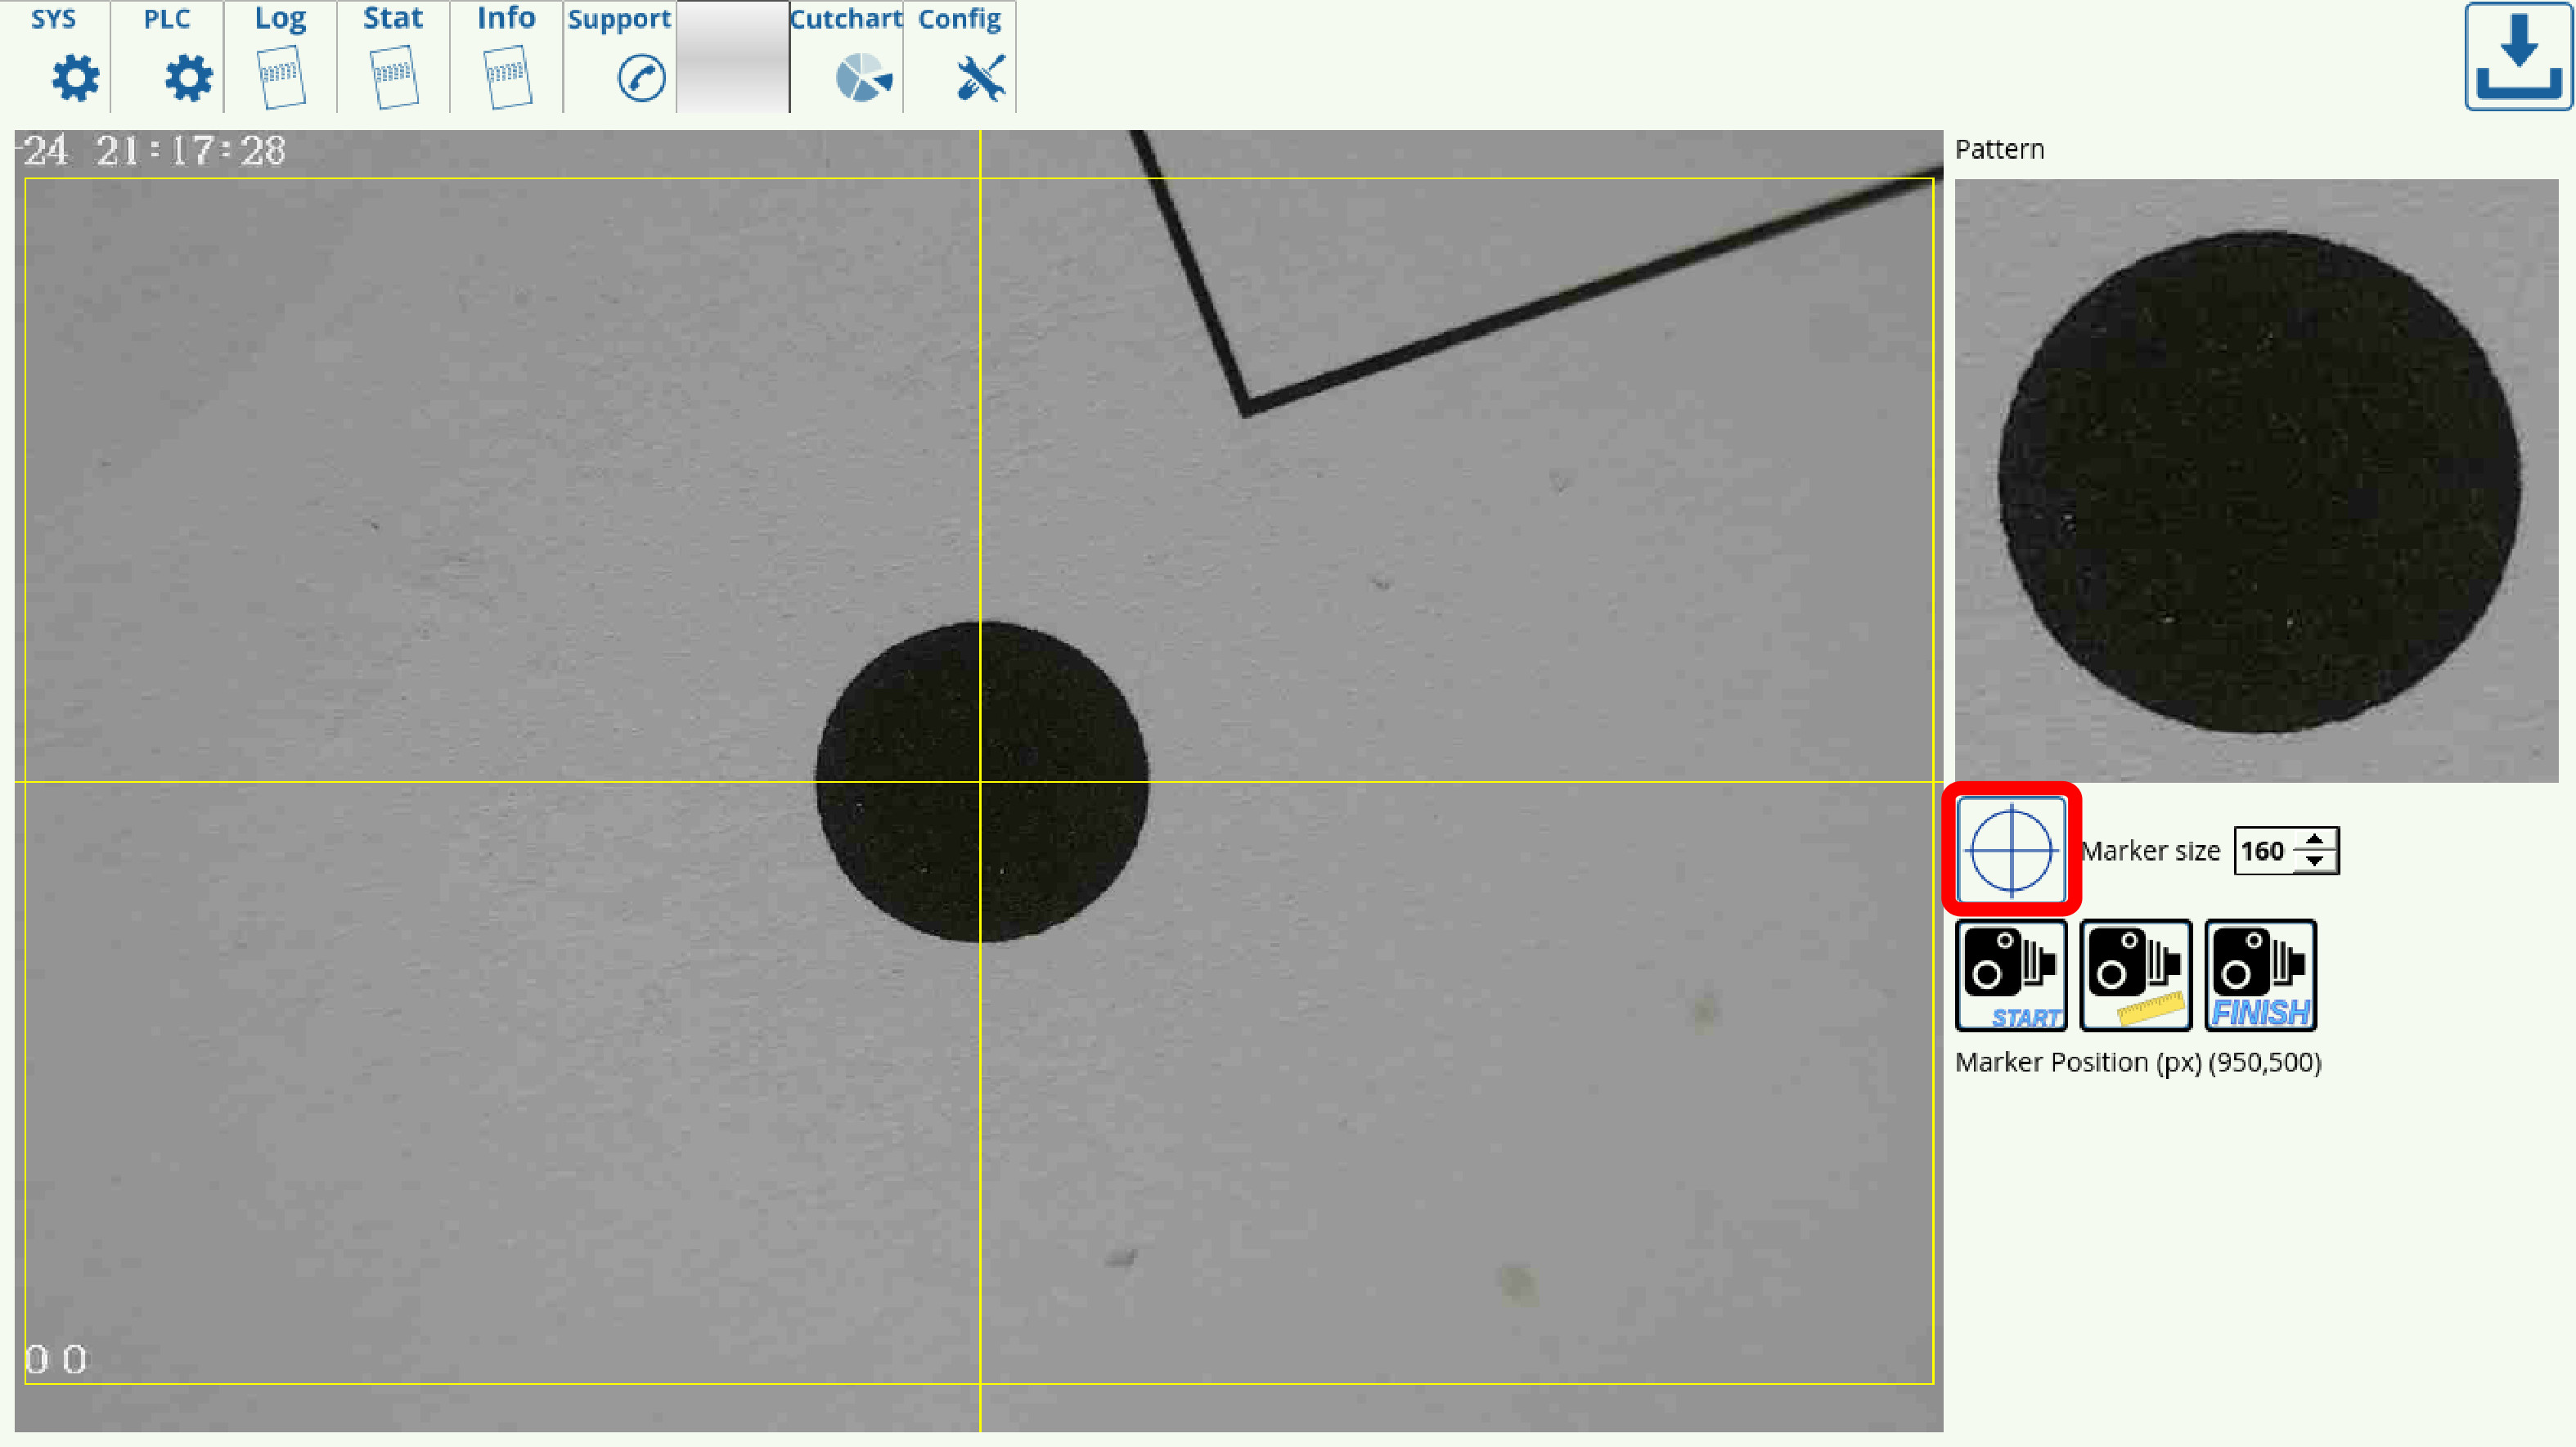
2. Move your camera to the center of the marker and press the Center button
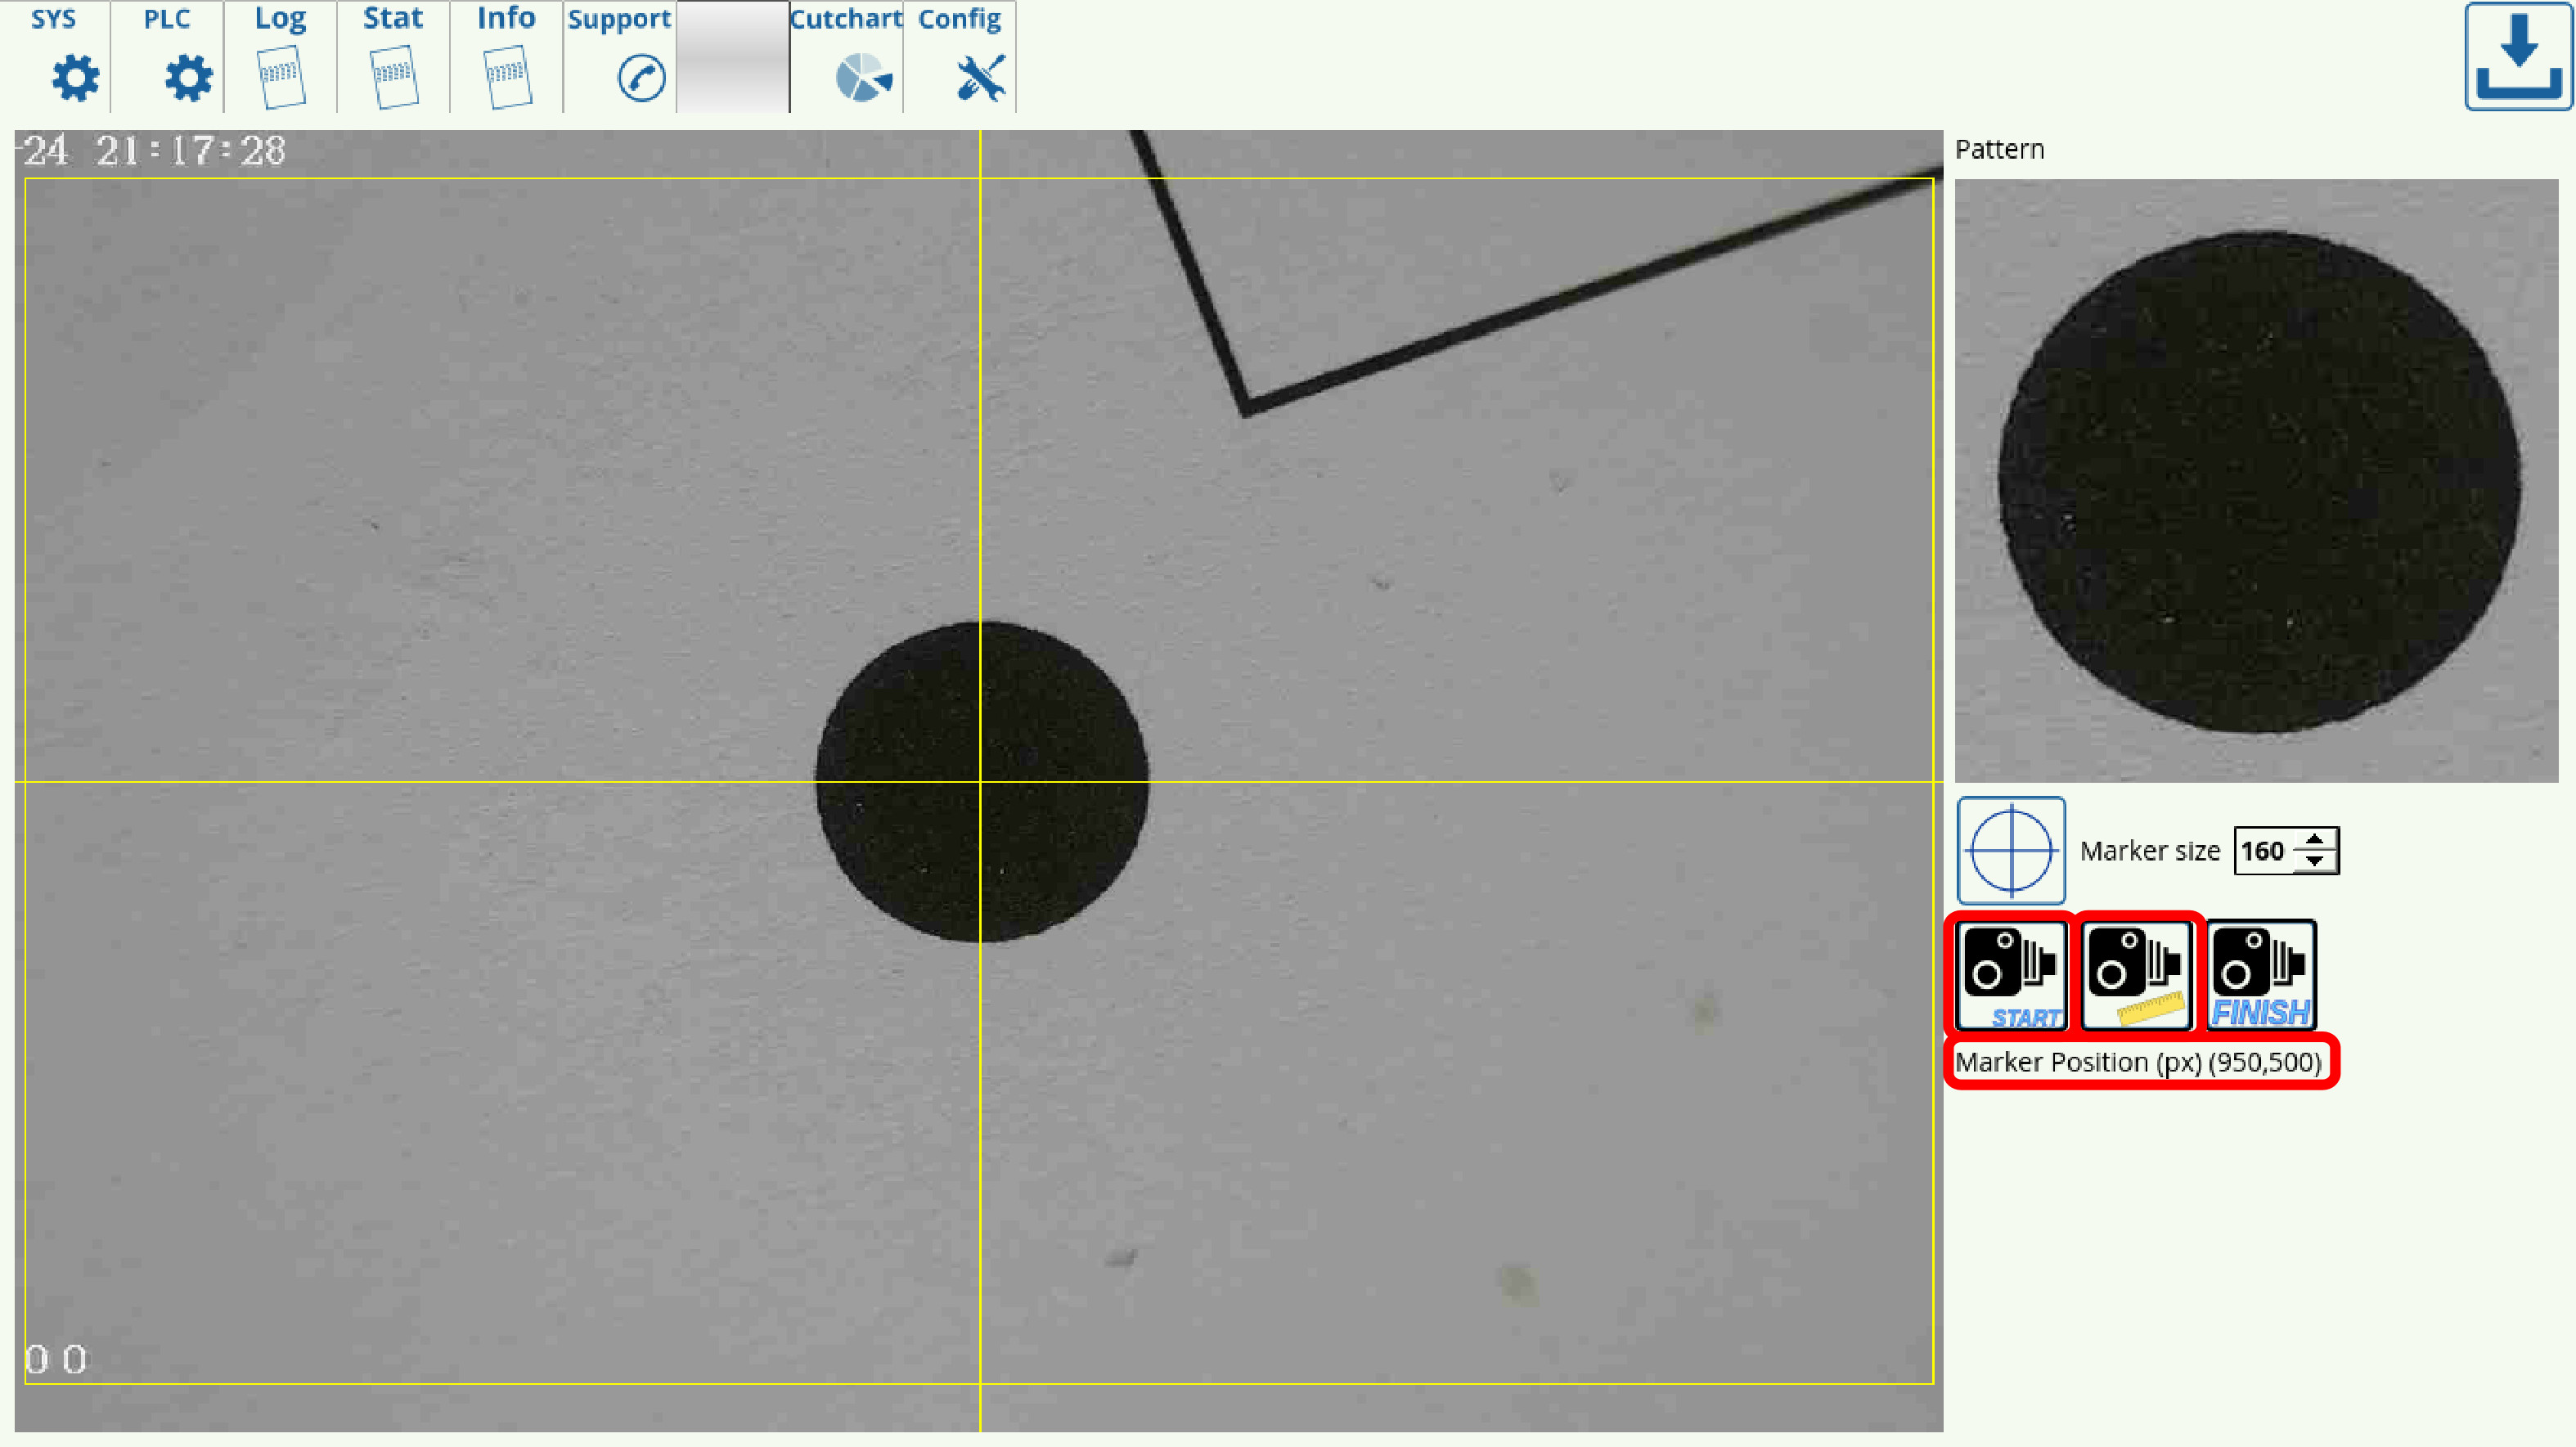
3. Press the Start and Measure buttons, and note the xy-position of the camera before moving it.
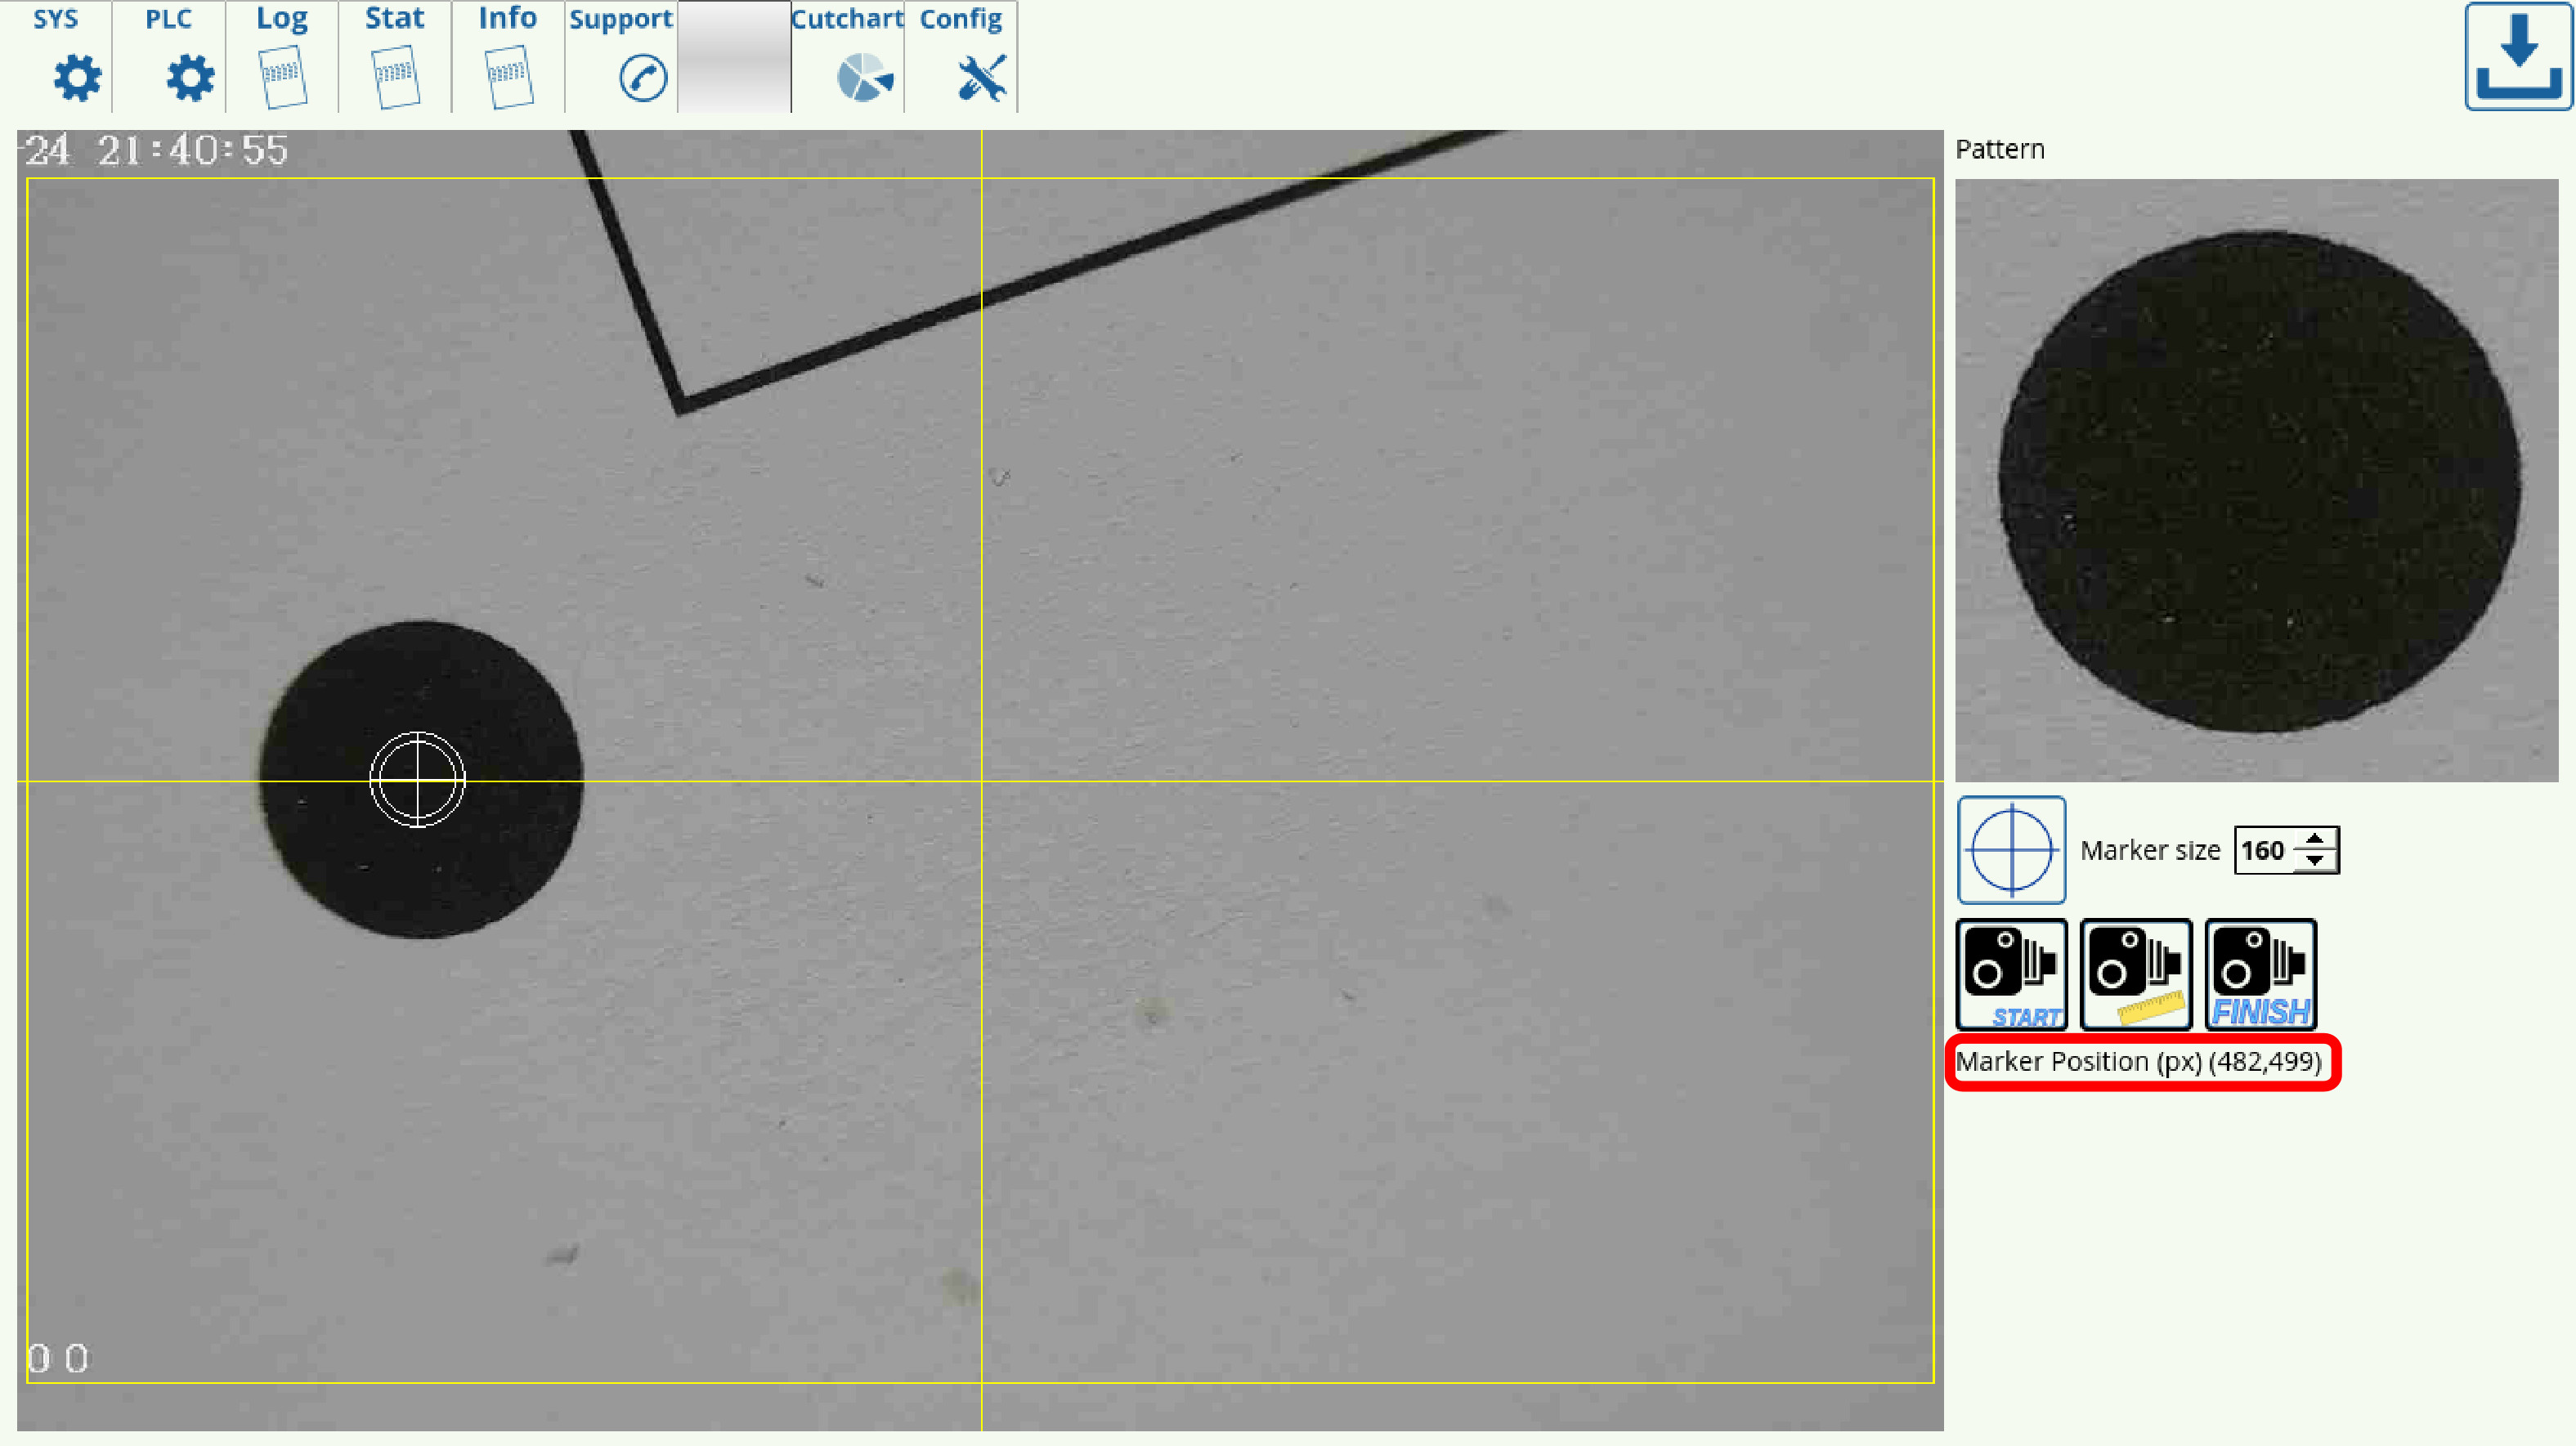
4. Move the camera some distance (in mm) and record that distance. Note the change from the original pixel xy-position, and find out how many pixels the camera has travelled over this movement. Divide the millimeters moved by the pixels travelled to obtain the pixel to length coefficient.
For example, in this setup, the machine has moved 12 mm to the right,
while the x-position value has changed from 950 to 482.

950 - 482 = 468 pixels
12 mm / 468 pixels = 0.0256

Therefore, the pixel to length coefficient is 0.256
5. Input the new coefficient into the CNC Settings > Camera > Pixel to length coefficient and press *Save**
The pixel to length coefficient setup is now complete, with the machine now having a proper coefficient of the number of pixels it moved by versus actual distance travelled in millimeters.
CNC Vision Example
The CNC Vision correction of a program to be used on a shifted or distorted working material can be done easily after the markers have been calibrated. In order to open and use a file with the CNC Vision system, use the following instructions:
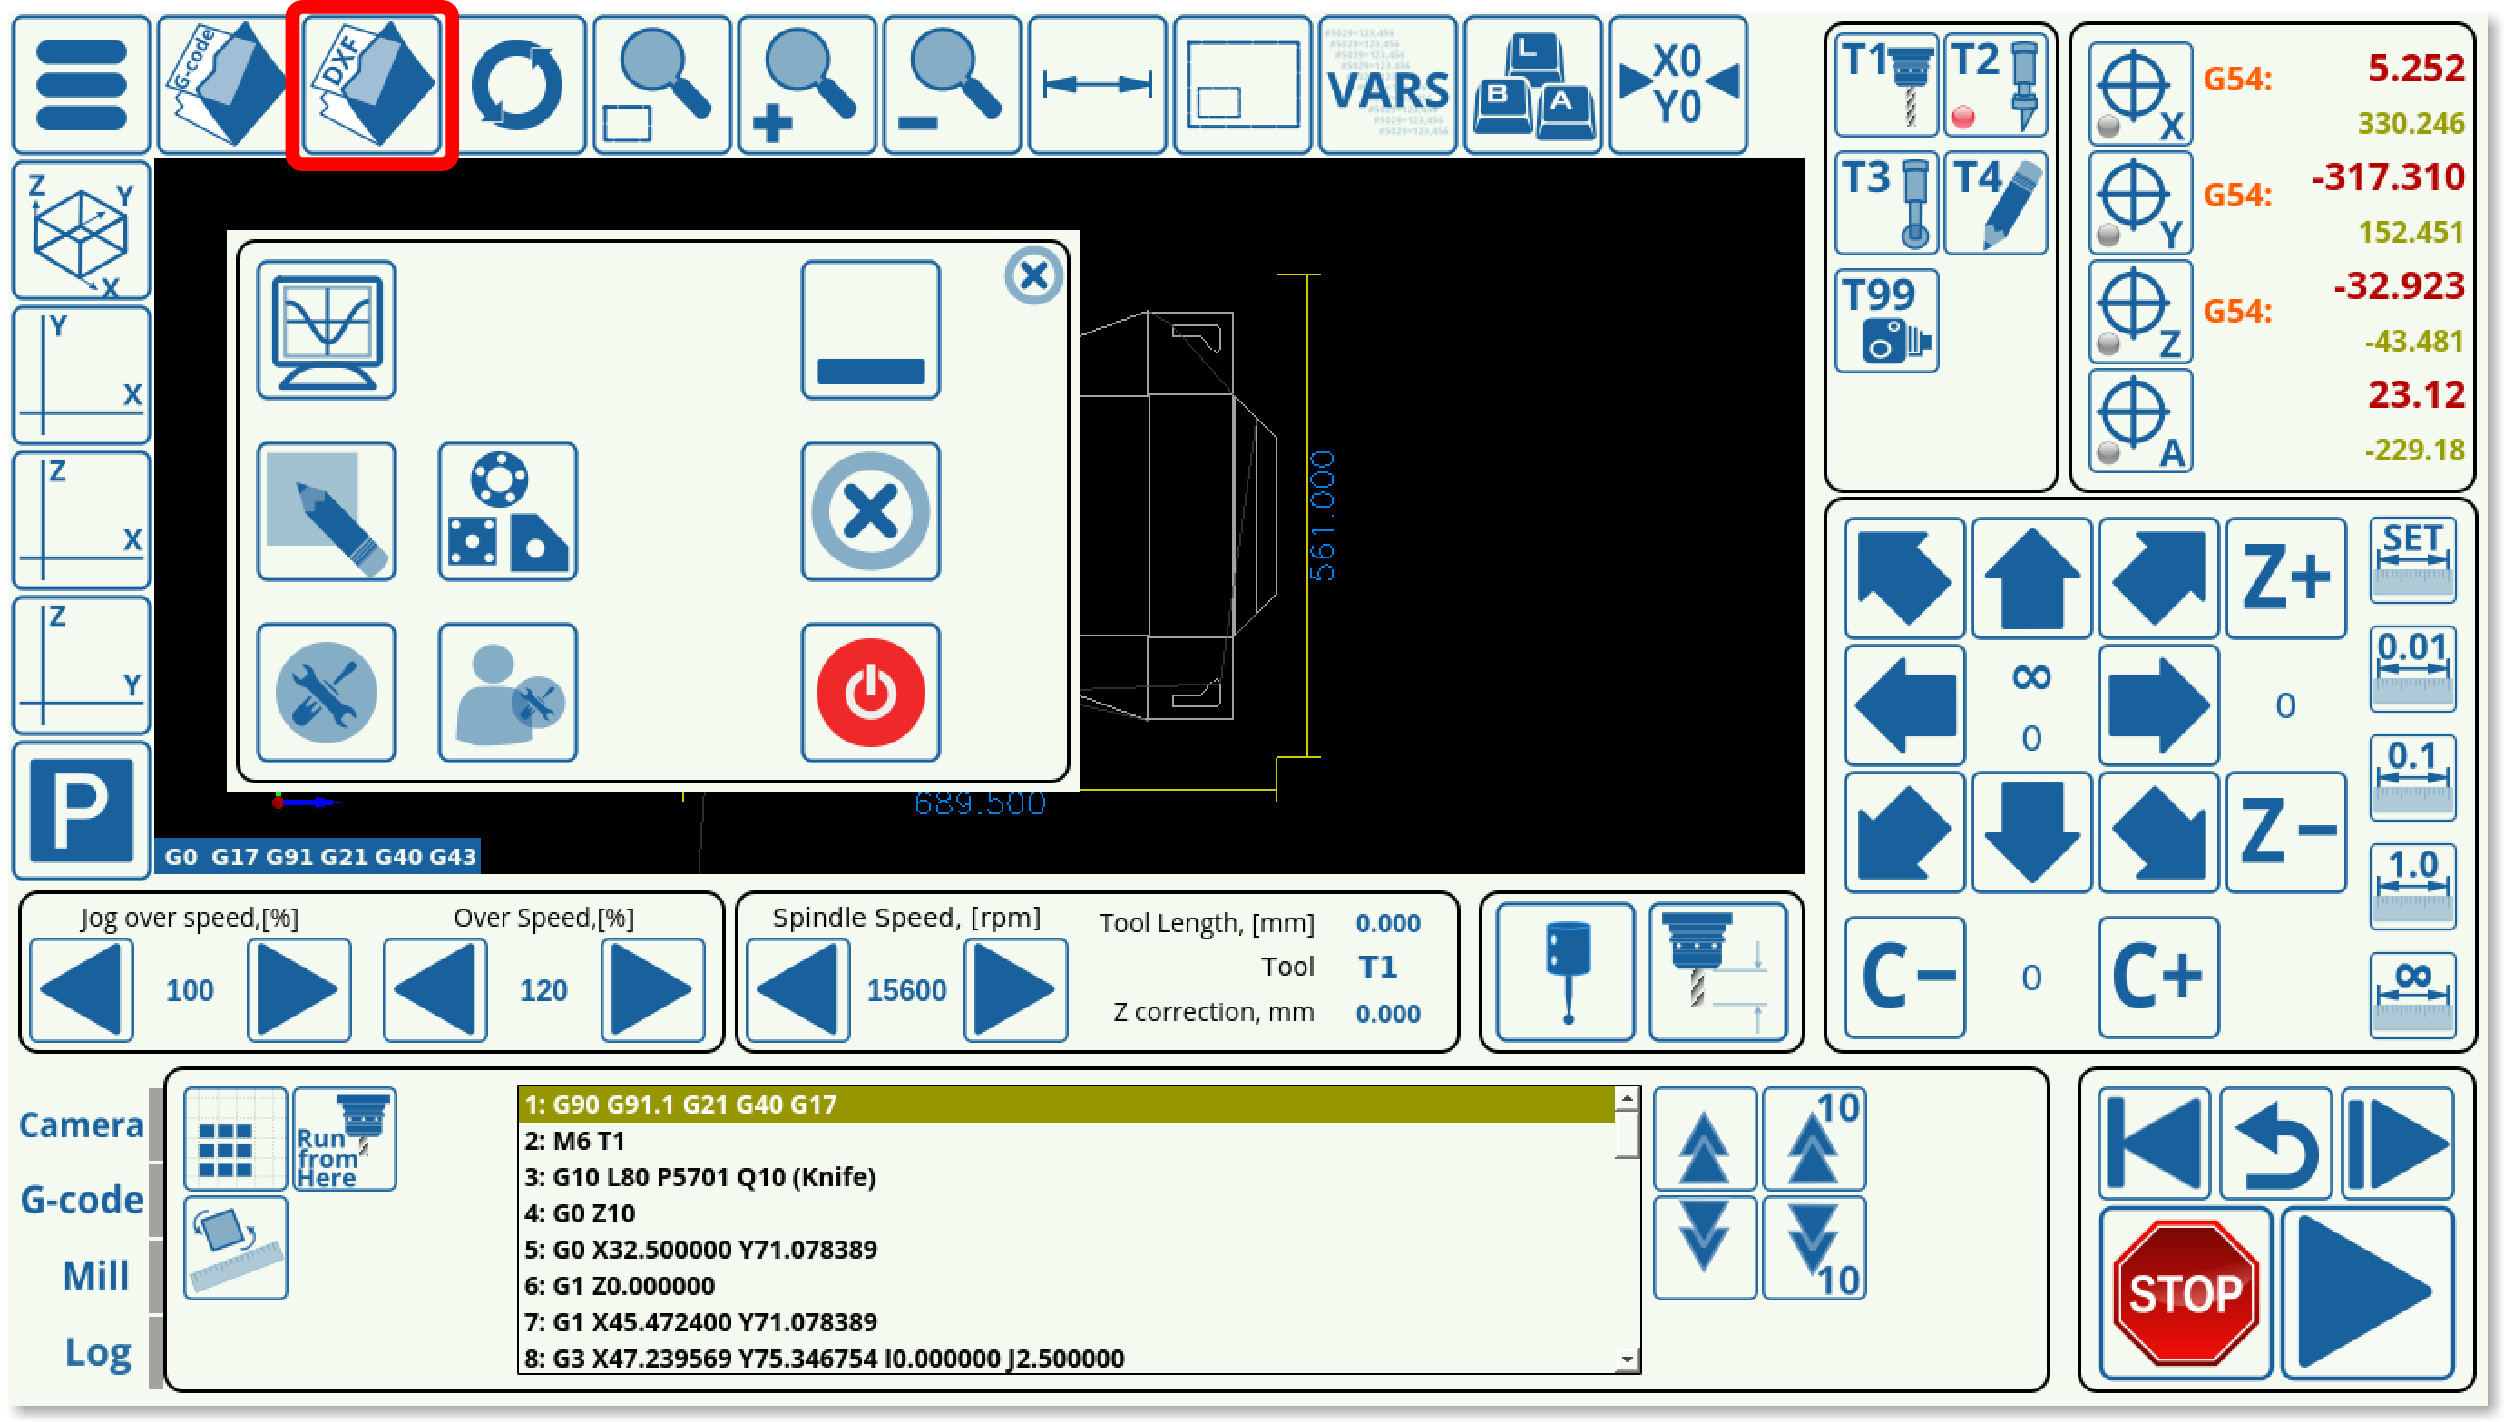
1. From the myCNC software's main screen, click the Open DXF File button.
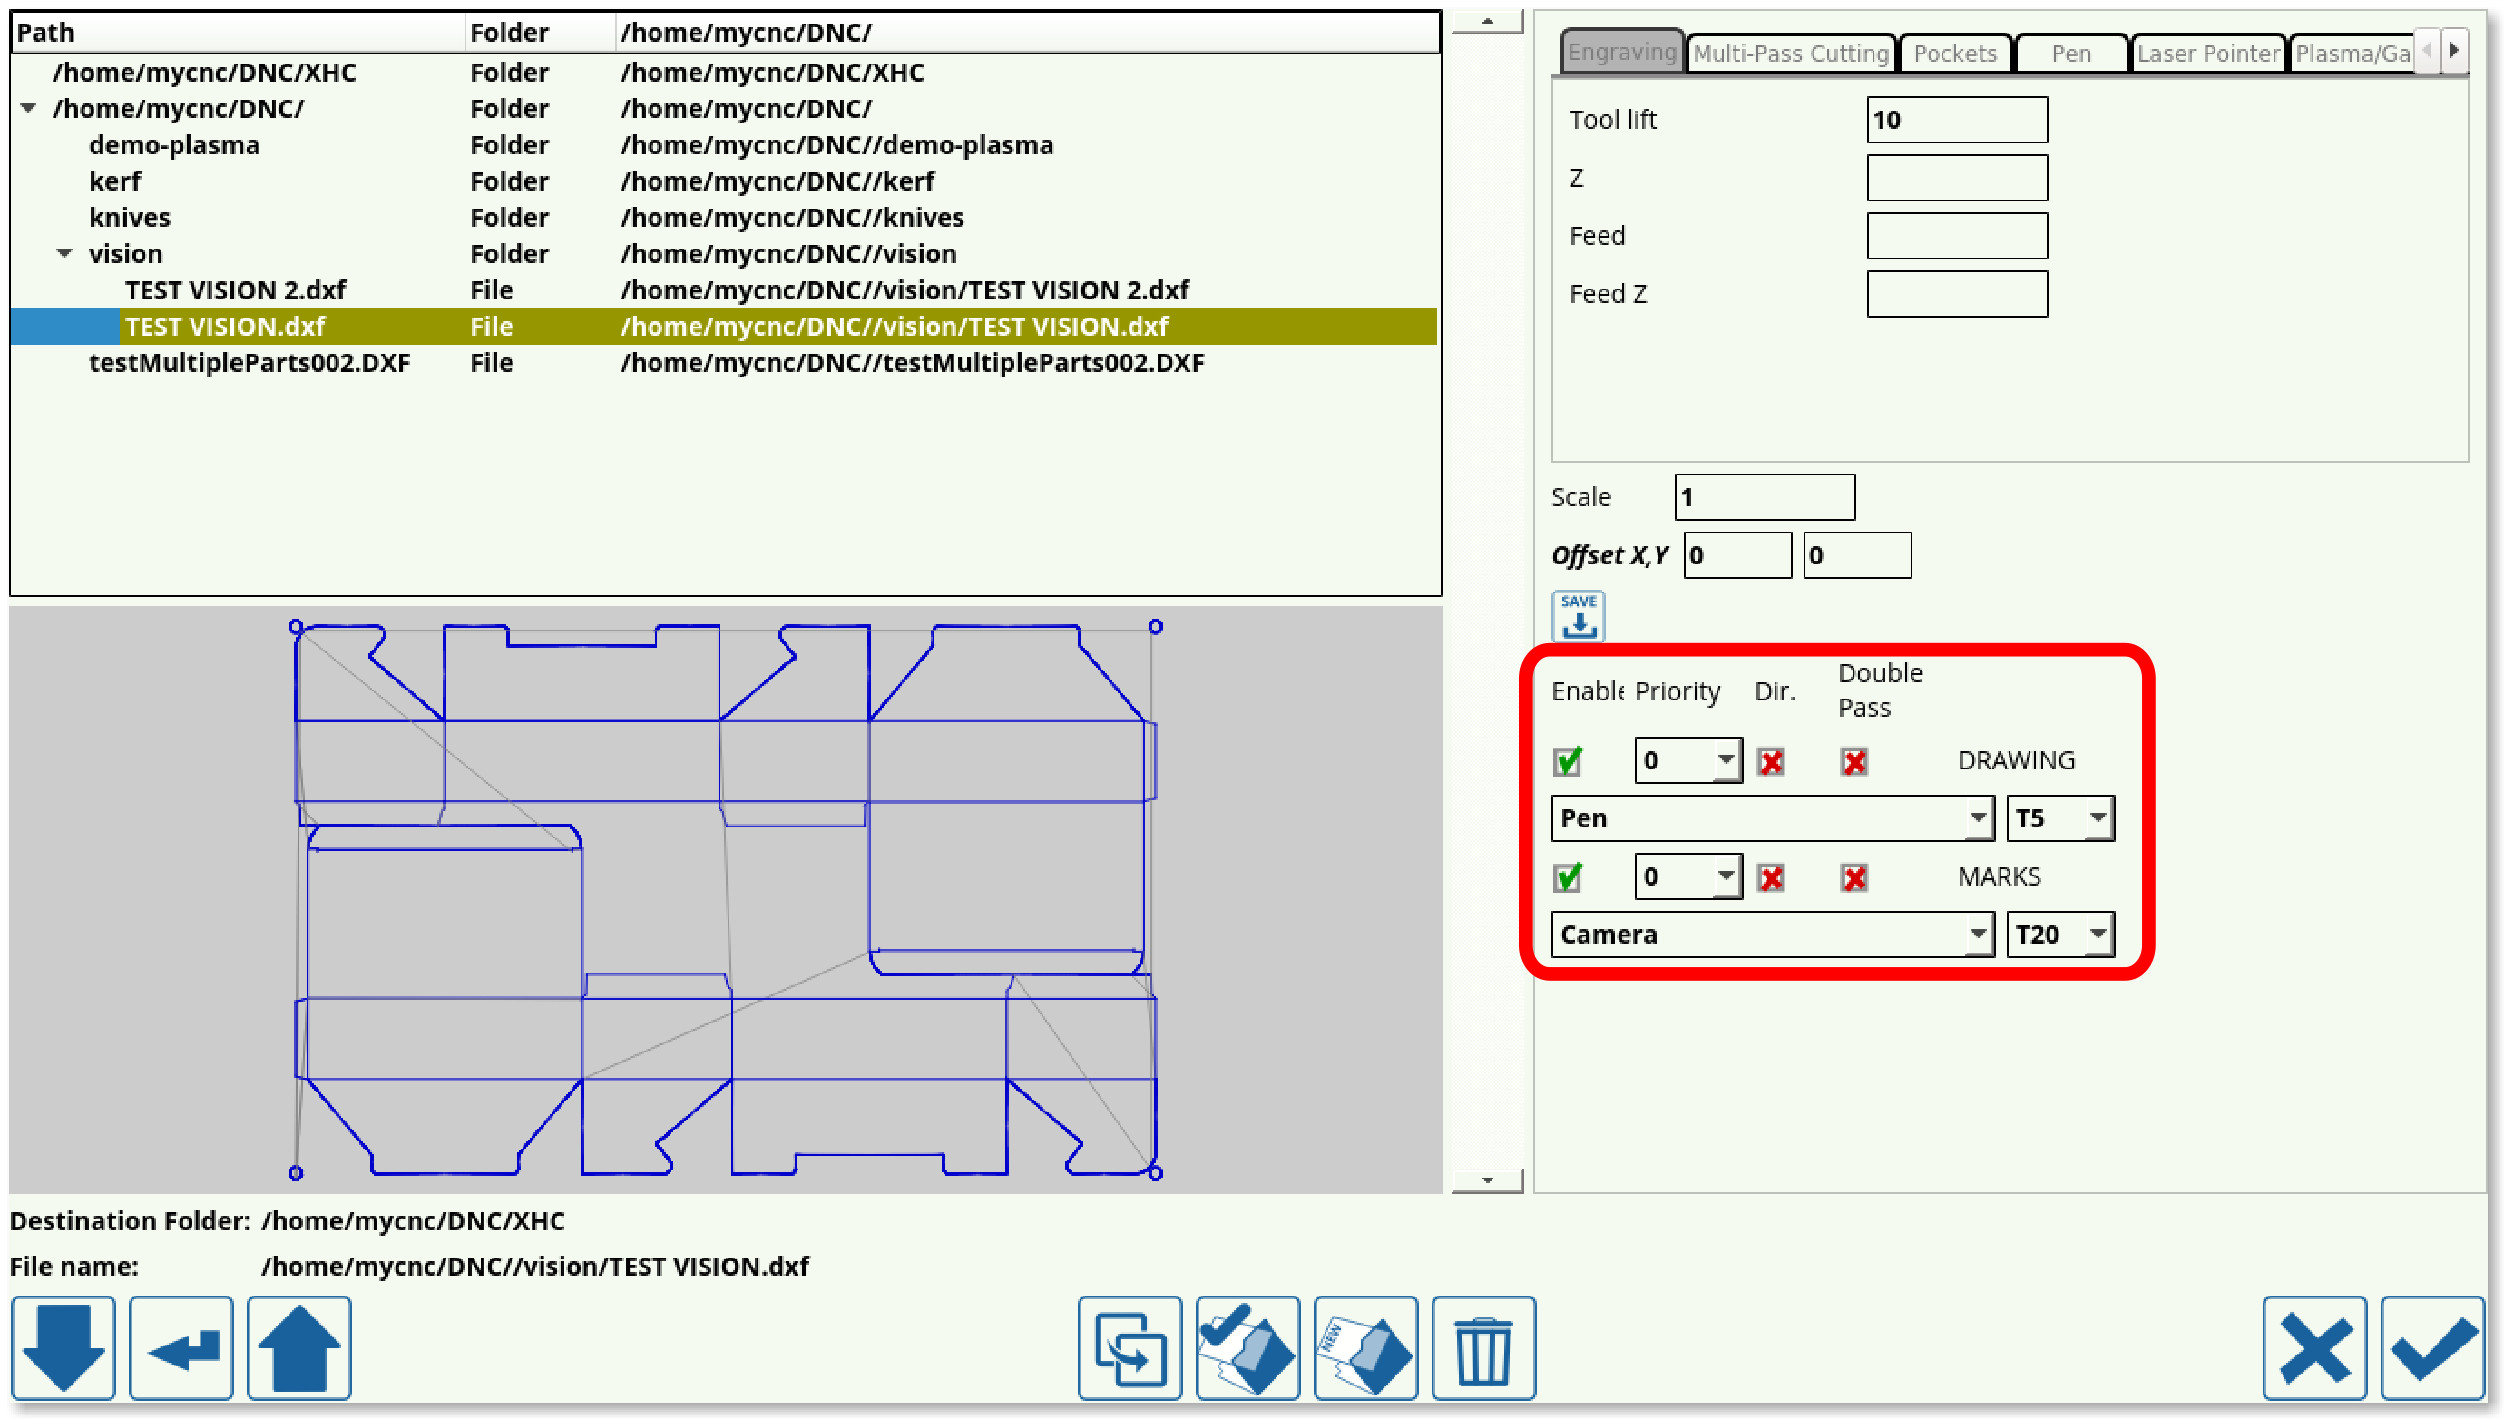
2. Select the particular DXF file you would like to open.
3. When selecting the tools, include Camera as one of the tools, and assign to it the same tool number as the one specified in the Camera Settings (this will be Tool 99 in our case). Assign the other tool or tools and their priorities as necessary for your particular program.
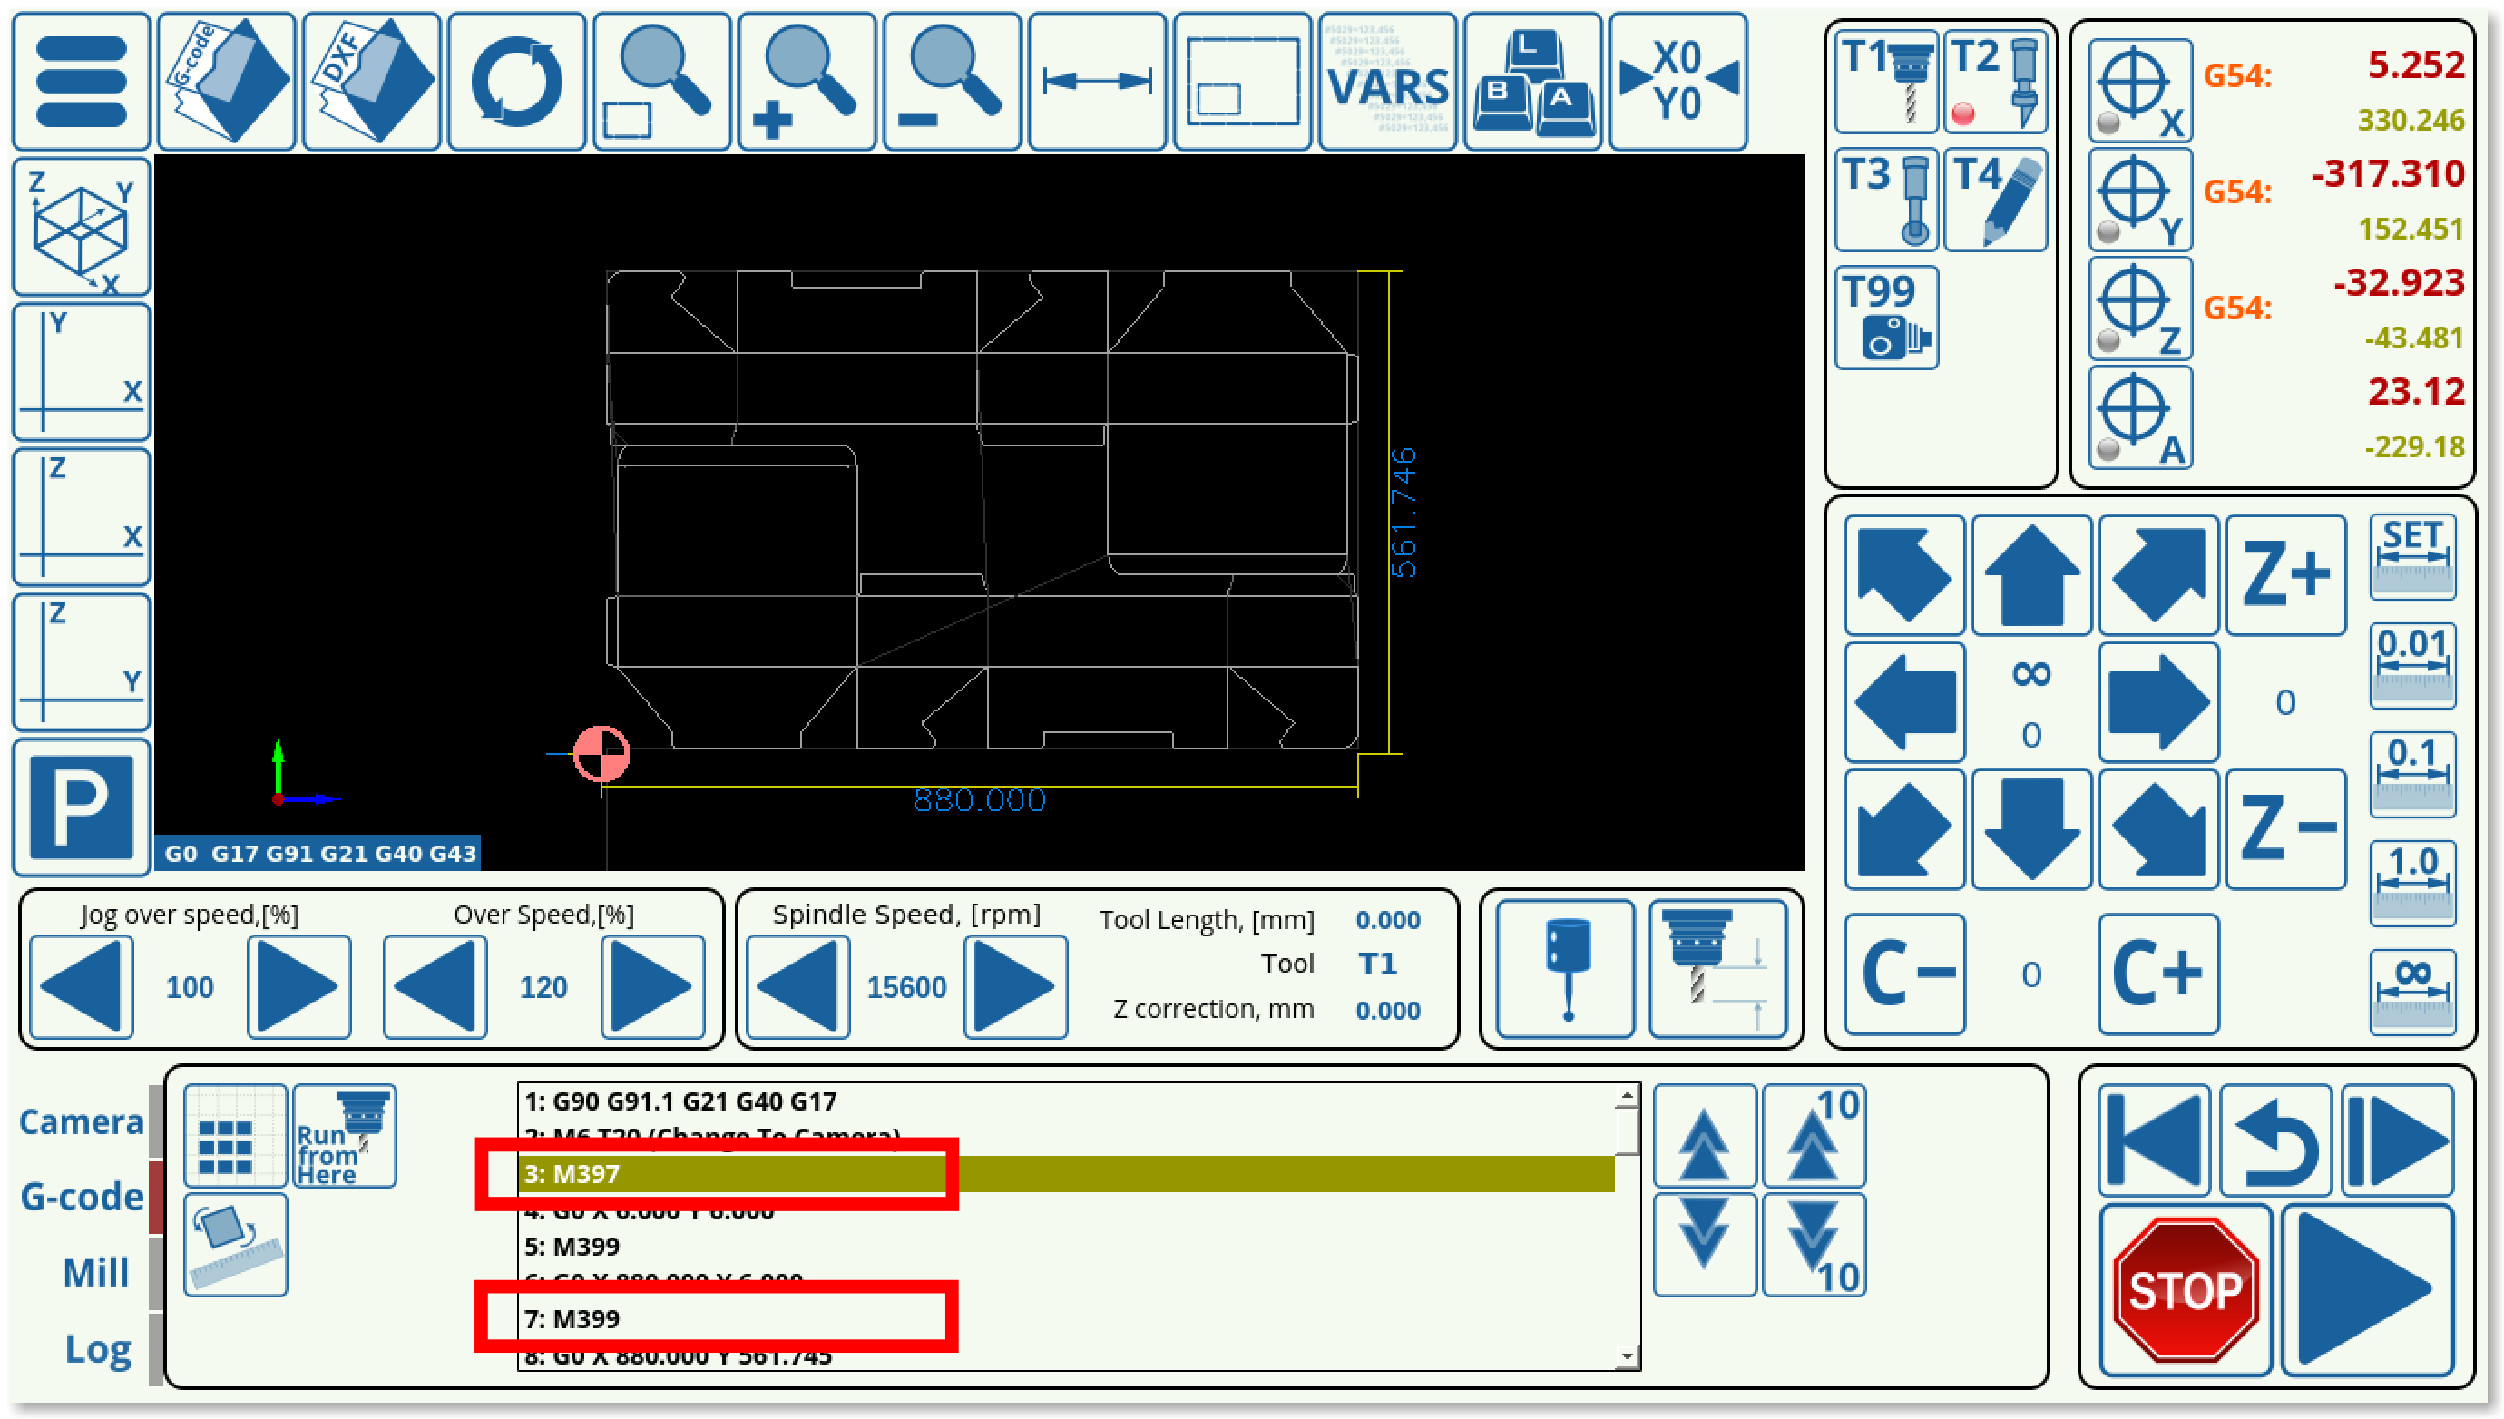
4. Once you have loaded the DXF file, the program should now have inserted the M397, M398, and M399 macros which refer to camera actions into the program G-code.
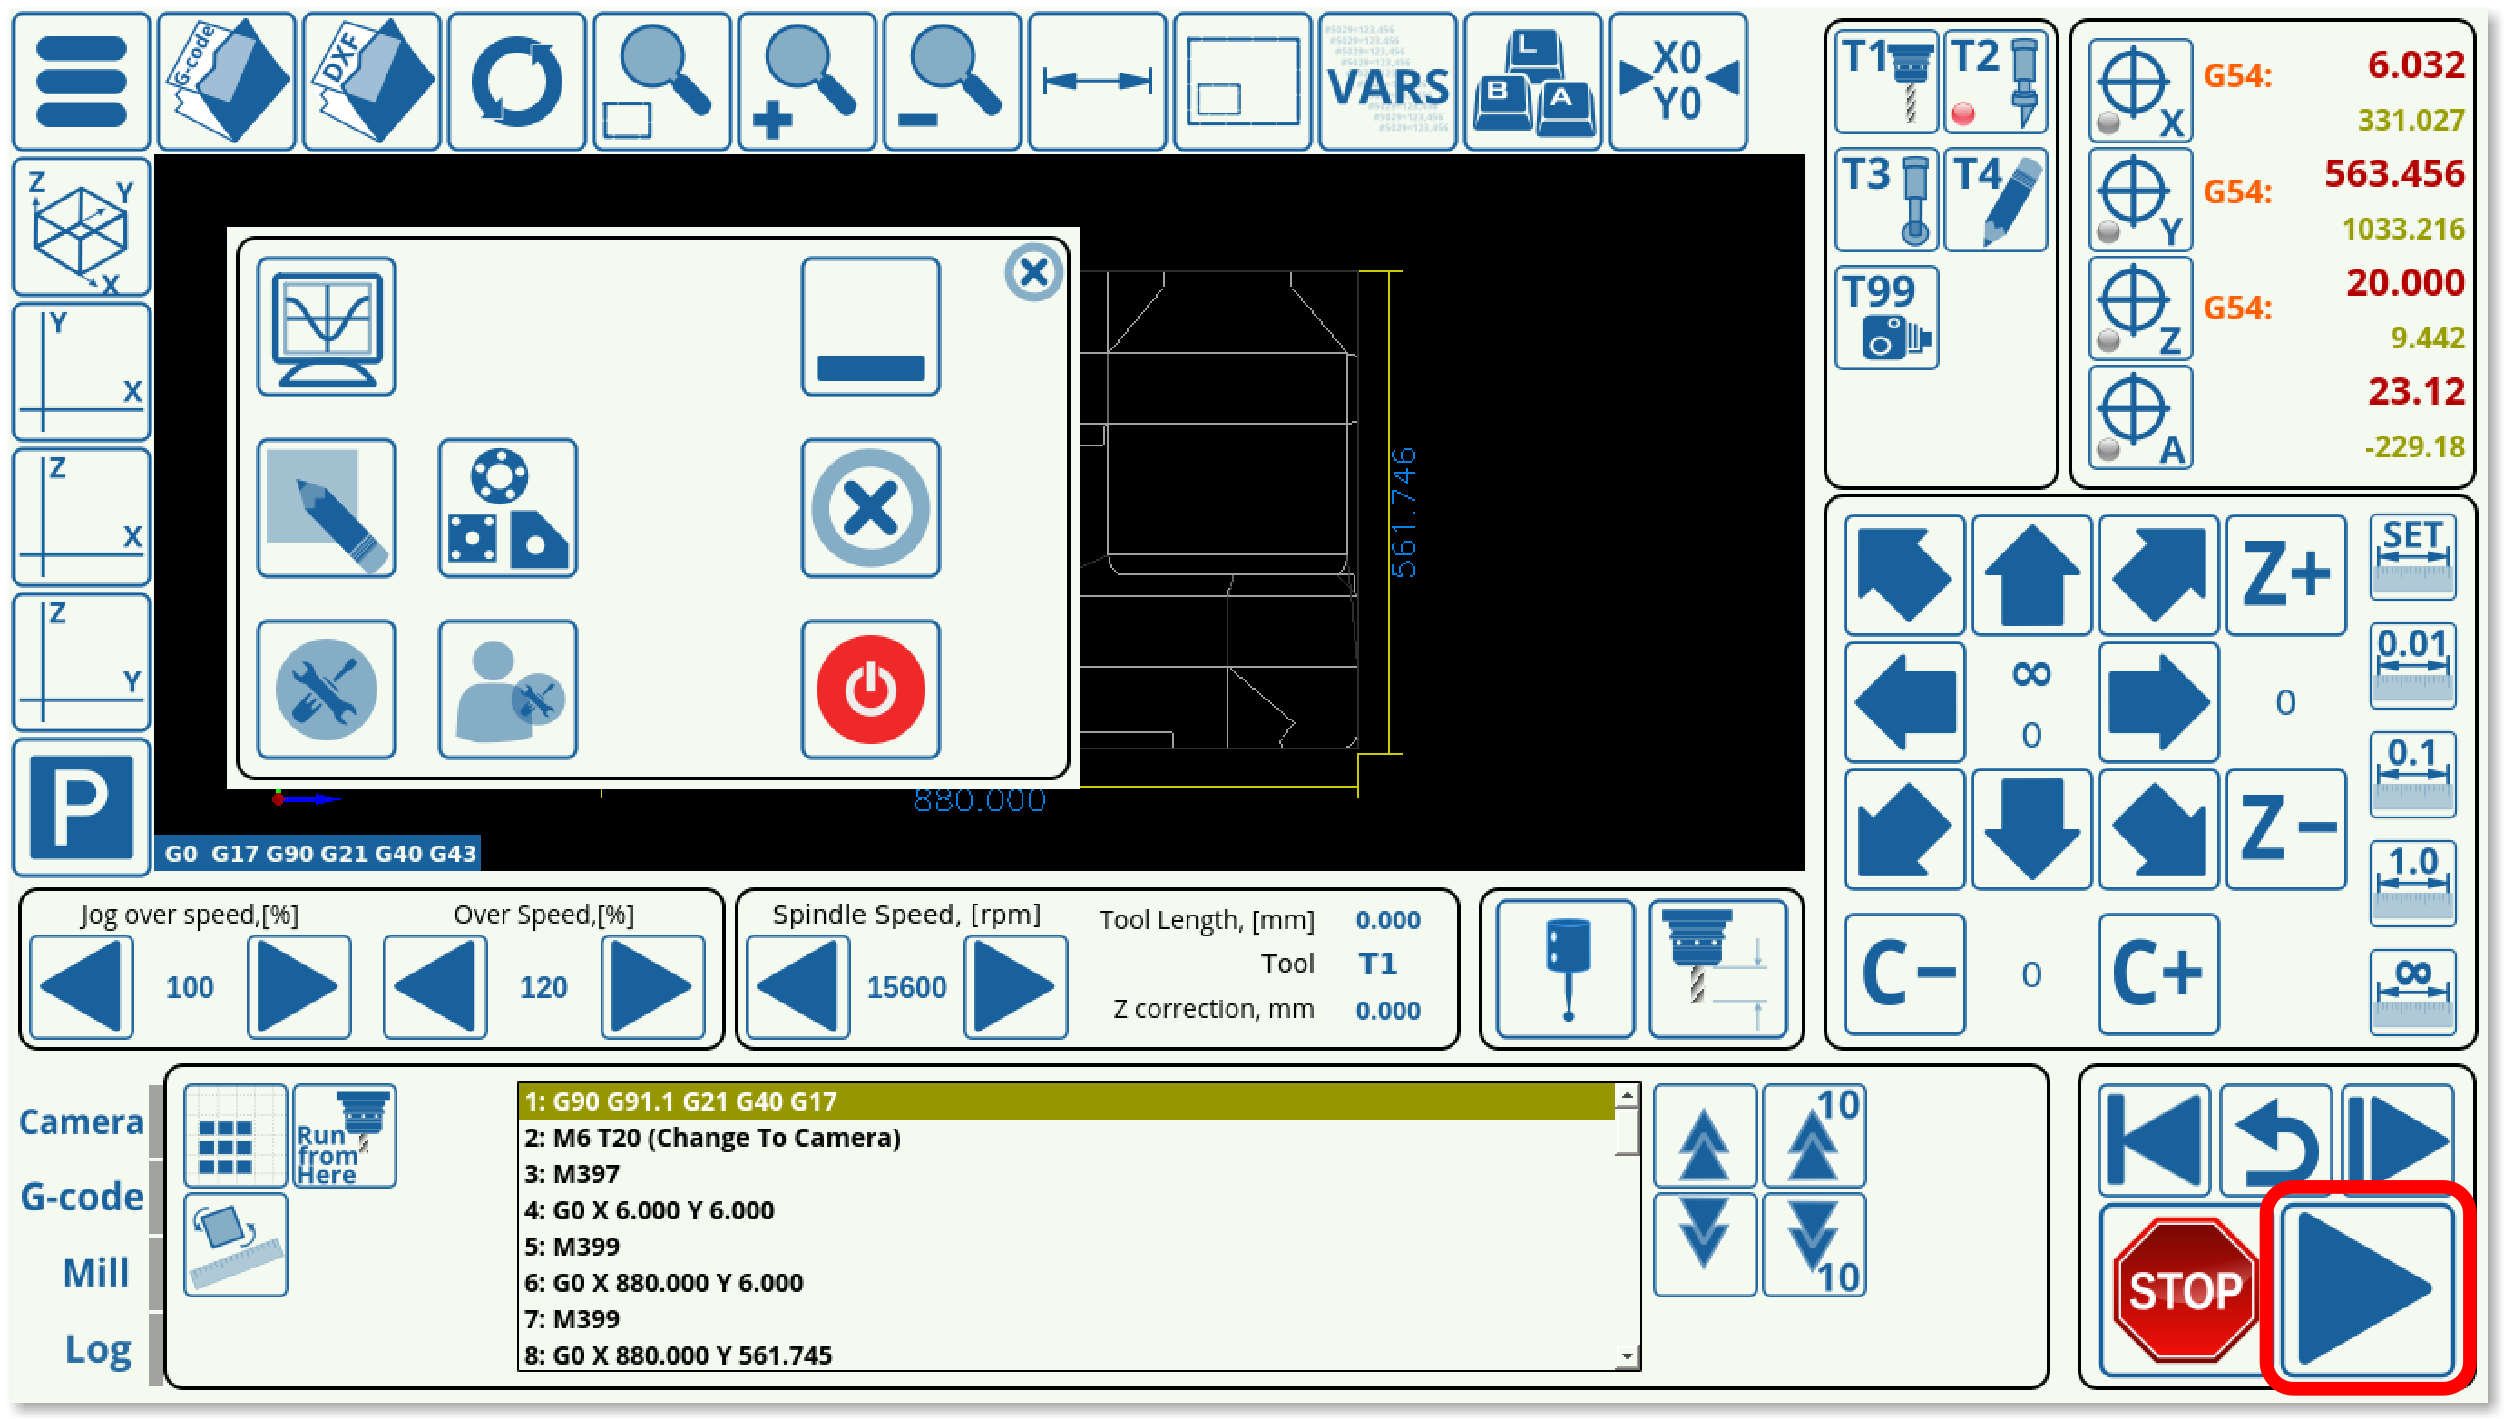
5. Press Run.
The machine will move the camera towards the supposed marker positions, and, if the markers are not immediately present in the Region of Interest, will move around this supposed marker position by the distance specified by the Camera Shift. After running through the camera macros and locating all of the markers for which the program has been calibrated, the program will automatically adjust for any shift or distortion that was introduced, and will immediately begin running the main program.
NOTE: The program will not begin the main cutting process unless all the markers that were expected to be adjusted for have been located.
